
To apply UV protectant to your kayak, we recommend cleaning and drying the approved surfaces, spreading a thin coat in the shade, and wiping away excess as the product label directs. Choose a protectant approved for your kayak’s material and finish. The wrong treatment can leave residue or affect the surface.
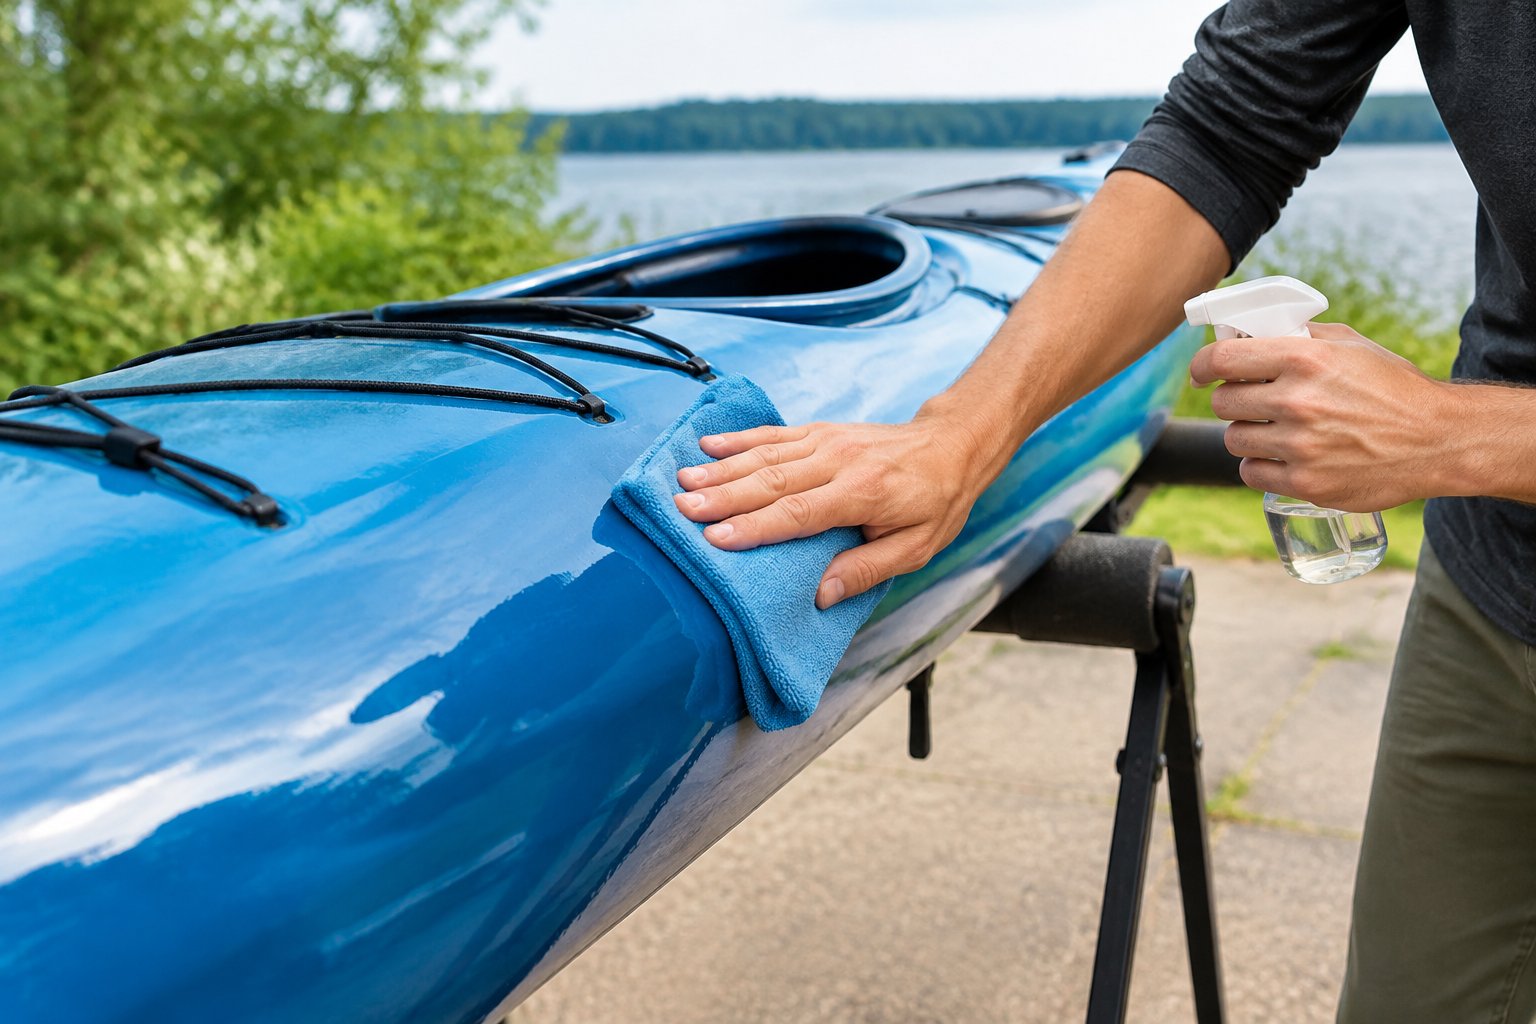
Sun exposure causes fading and contributes to material breakdown over time. Good kayak UV protection combines surface treatment with covered storage. Protectant is one part of kayak care, alongside checking for damage and keeping the boat out of direct sun between trips.
Step 1: Check Your Kayak’s Material and Manufacturer Guidance
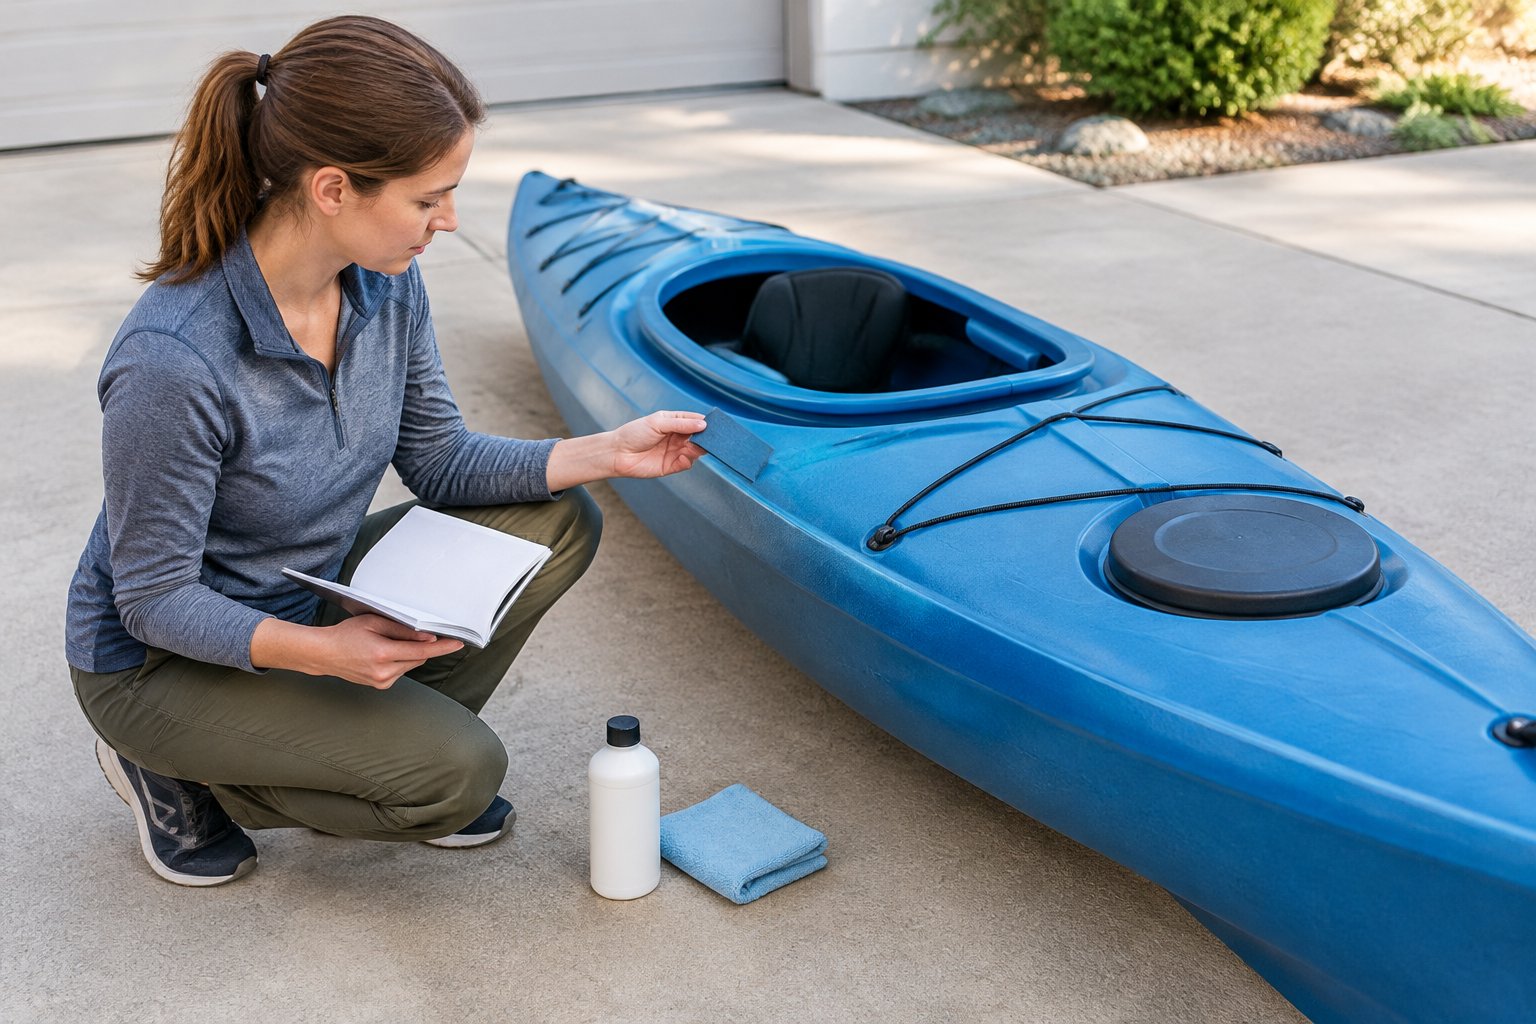
Your kayak’s care manual determines which surfaces and products are suitable for treatment. Identify the model, hull material, and outer finish before buying a bottle.
- Polyethylene kayaks: A rotomolded kayak needs a plastic-safe treatment that its manufacturer permits.
- Composite kayaks: On a fiberglass kayak, check whether you are treating gel coat, paint, or another finish. Carbon fiber kayaks also require finish-specific care.
- Thermoformed plastic kayaks: Follow the maker’s instructions for the outer protective layer. Approval for polyethylene does not establish compatibility with every plastic kayak.
- Inflatable kayaks: Identify PVC or the other coated fabric used in your boat. Check instructions for seams, valves, and removable floor panels separately.
For its HDPE kayaks, one manufacturer recommends cleaning at the beginning and end of each season and applying a plastic-safe UV protectant. That advice applies to its boats; your own manual takes priority.
For inflatable models, check safety and durability considerations before treating worn fabric or damaged seams.
Step 2: Choose a Compatible UV Protectant
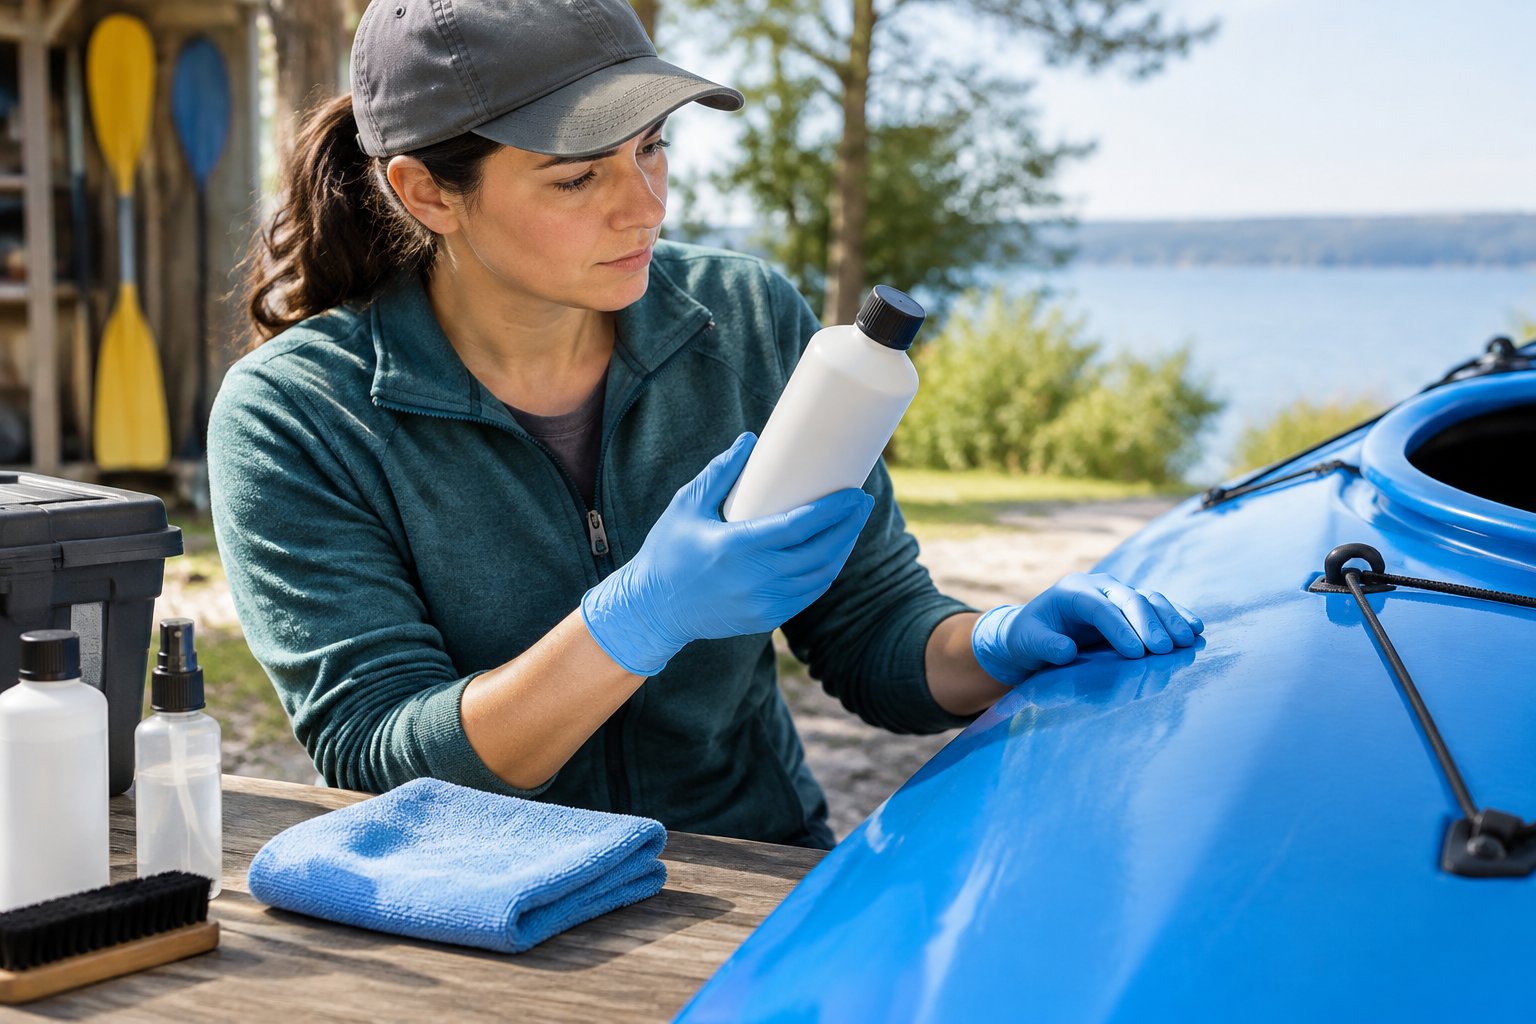
Choose a UV protectant that explicitly covers your kayak’s material and meets its manufacturer’s care instructions. Check the exact bottle label, including exclusions and application directions.
303 Aerospace Protectant and 303 Marine Aerospace Protectant are familiar names, but the precise product matters. The paddlesports-specific 303 UV Protectant for Paddleboards and Kayaks is documented to leave a dry, matte, non-greasy finish. Confirm that your kayak maker permits it before application.
Star brite Ultimate Paddlesports Cleaner & Protectant is another option for approved surfaces. Its formula is designed to remove grime and salt deposits while providing UV protection on plastic, fiberglass, and vinyl.
GEAR AID Revivex UV Protectant also has its own material and application instructions. The best UV protectant for your kayak is an approved treatment you can apply correctly. A “marine protectant” label alone does not establish compatibility. Look for a stated UV-protection purpose, such as UV inhibitors or protection against sun-related fading.
Step 3: Gather Supplies and Move the Kayak into Shade
A cool, shaded work area gives you better control over application and wiping. Set up on stable, padded supports where you can reach the deck without dragging the hull.
Gather these supplies before starting:
- Your approved UV protection spray or liquid
- A manufacturer-approved mild cleaner
- Fresh water and a soft sponge
- Clean microfiber cloths for washing, application, and buffing
- Gloves or eye protection if the product label requires them
Keep the applicator cloth separate from the drying towels. Sand caught in a towel can scratch glossy finishes, so replace any cloth that falls onto dirty ground.
Move loose kayaking gear away from the work area to prevent overspray. If the deck feels hot, let it cool before continuing with your kayak maintenance.
Step 4: Rinse, Clean, and Dry the Surfaces
Remove salt and dirt before applying protectant so it reaches a clean surface. Use a gentle wash with a cleaner approved by your kayak manufacturer.
- Rinse loose grit from the hull and deck with fresh water.
- Wash with a soft sponge, working around fittings and hatch rims.
- Rinse away the cleaner completely.
- Dry with clean towels, then allow trapped water to drain.
Plastic, vinyl, rubber, and fiberglass components have different care needs. Do not assume approval for one surface applies to every part attached to the boat. Rinse stainless steel hardware, but keep protectant away from moving mechanisms unless their instructions permit treatment.
Pay attention to water hiding beneath deck lines and around handles. While the surfaces dry, complete a kayak equipment inspection, checking for loose fittings, cracked hatch covers, and worn lines.
Step 5: Spot-Test and Spread a Thin, Even Coat
Test the kayak protectant on a small, hidden area before treating visible surfaces. Follow the label’s full application process, then check the spot for discoloration, tackiness, or a change in gloss.
Shake the bottle if directed. If the label permits, apply the product to a cloth to control overspray around fittings and grip areas. Spread a light coat across a manageable patch with overlapping strokes, then continue along the approved surfaces.
Product directions differ. GEAR AID’s instructions specify application with a non-abrasive damp cloth, turning it often. Follow that method when using that product.
Treat neoprene hatch covers or nylon straps only when both the component maker and protectant label allow it. Keep treatment away from patch locations, adhesive work, and valve interiors. For inflatable boats, stop if the test patch unexpectedly changes the fabric’s feel or appearance.
Step 6: Wipe Away Excess and Buff the Surface Dry
Remove excess product according to the label until the treated surface reaches its intended finish. Use a fresh cloth so you lift residue without spreading more protectant.
Work back across each treated patch, paying attention to grooves and the edges of fittings. Rotate the cloth as it becomes damp. If streaks remain, use the label’s correction method before adding any more product.
A product designed to leave a non-greasy matte finish should not leave oily patches. If it does, wipe the surface further. Other formulas have different finish characteristics, so use the bottle’s directions as your standard.
Keep footwells, standing areas, paddle grips, and carrying handles free of slippery residue. Secure contact points are important when you get in and out of a kayak.
Step 7: Follow Label Directions Before Returning to the Water
Finish the product’s required wiping and drying process before launching. Check the exact directions for any waiting period; drying and curing requirements differ between formulas.
Keep the kayak sheltered while completing that process. If a label gives a waiting time, follow it even when the surface already feels dry. Avoid applying extra coats unless the directions call for them.
Apply and wipe products on land, away from the shoreline, and dispose of residue as directed. Before you transport your kayak, confirm that the contact areas are dry and no residue transfers to your hands or straps. UV protection for kayaks should leave the boat ready for secure handling.
Step 8: Set a Reapplication Schedule Based on Use and Exposure
Use the product label’s interval as the starting point for reapplication. Record the treatment date and adjust your checks based on outdoor exposure, washing, and frequent use.
For GEAR AID Revivex UV Protectant, the stated interval is every 30 to 45 days of sun exposure. Its instructions also explain that equipment stored away from sunlight needs treatment less frequently.
Set a reminder based on the interval for your chosen product. Check sooner after heavy cleaning or extended outdoor storage, and follow any guidance the label gives for those conditions.
UV rays continue to affect exposed surfaces between treatments. Regular application helps prevent fading and cracking, but it does not repair existing damage. If you find a split, leaking seam, or brittle fitting, arrange repair or replacement before paddling.
Step 9: Use Covers and Shaded Storage Between Trips
Store your kayak out of direct sunlight whenever practical. Use indoor storage or a shaded, ventilated location with a suitable kayak cover.
Choose kayak covers for UV protection with a stated sun-resistant purpose and a secure fit. Keep the boat dry before covering it, and arrange the cover so rain drains away. Allow ventilation to limit trapped moisture.
A cockpit cover protects the cockpit opening and its contents. Full kayak covers provide broader coverage for outdoor storage. Use a cover during travel only if it is designed and secured for transport.
For long-term kayak storage in a garage or shed, follow the boat maker’s support positions. Padded kayak storage racks should distribute the load without tight straps pressing into the hull. Store inflatable boats clean and fully dry, following their packing instructions.
Make Sun Protection Part of Your Paddling Routine
Combine an approved protectant with shaded storage and routine surface checks. Clean the kayak before treatment, follow the bottle’s application directions, and remove excess before handling or launching.
Keep the product name and application date with your kayak care notes. After each treatment, set the next reminder and return the dry boat to its covered storage location.
Frequently Asked Questions
Pause and check the kayak maker’s care instructions if you notice unexpected surface changes. These answers address common problems that arise during treatment.
Can 303 Aerospace Protectant restore strength lost to UV damage?
303 Aerospace Protectant does not repair structural damage caused by UV exposure. Have brittle areas, cracks, or weakened fittings assessed before your next trip.
Should you apply protectant over a planned inflatable kayak patch?
Keep protectant away from an area that needs a glued patch. Complete the repair and its required cure first, then follow the adhesive and kayak makers’ instructions for future surface treatment.
Can you use sunscreen meant for skin on a kayak?
Use a surface protectant approved for your kayak, not personal sunscreen. Keep skin-care products separate from boat-care supplies because they are designed for different uses.
Should you cover a kayak while it is still wet?
Dry the kayak before fitting its storage cover. Allow ventilation under the cover, and check for pooled water after rain.