

We recommend that you clean mold from kayak seat surfaces with mild soap and water. Treat leftover spots only with a material-compatible cleaner, and dry every layer before reinstalling the seat. This gentle approach removes surface growth while protecting coatings and stitching.
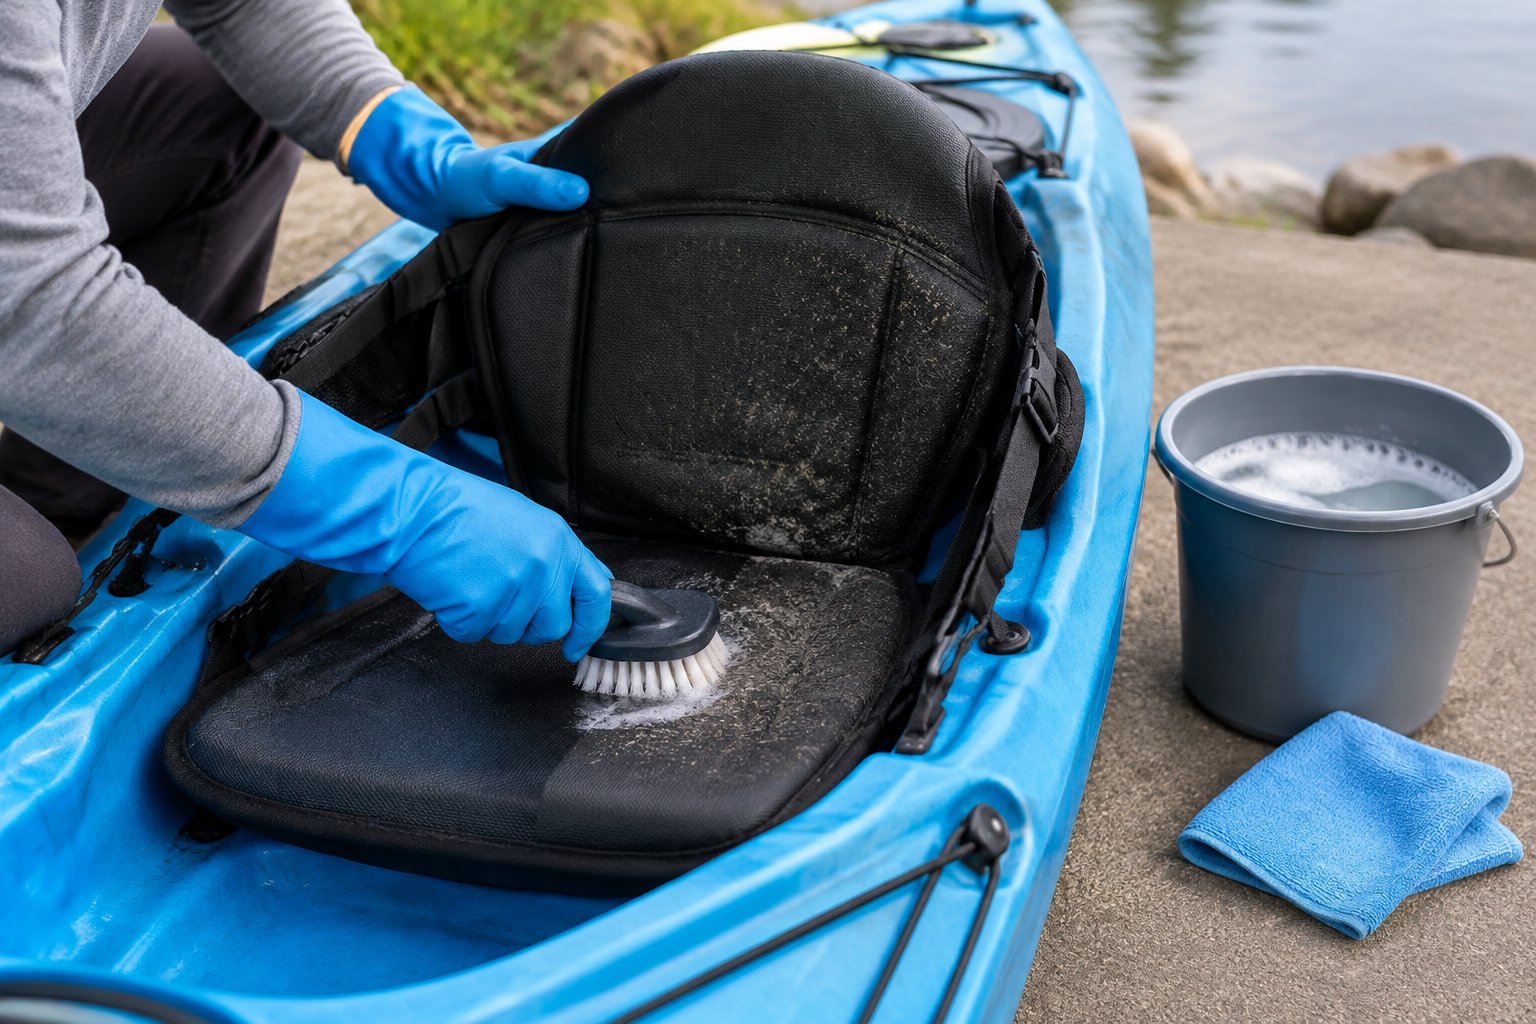
Mold on boat seats can develop in the same way: moisture collects beneath cushions while the visible surface feels dry. We recommend checking the underside and padding before deciding whether surface cleaning is enough.
Key Takeaways
- Match every cleaner to your seat’s material and care instructions.
- Clean hidden surfaces beneath cushions and around straps.
- Replace deeply affected padding and store clean seats completely dry.
Step 1: Identify the Seat Material and Prepare Safely
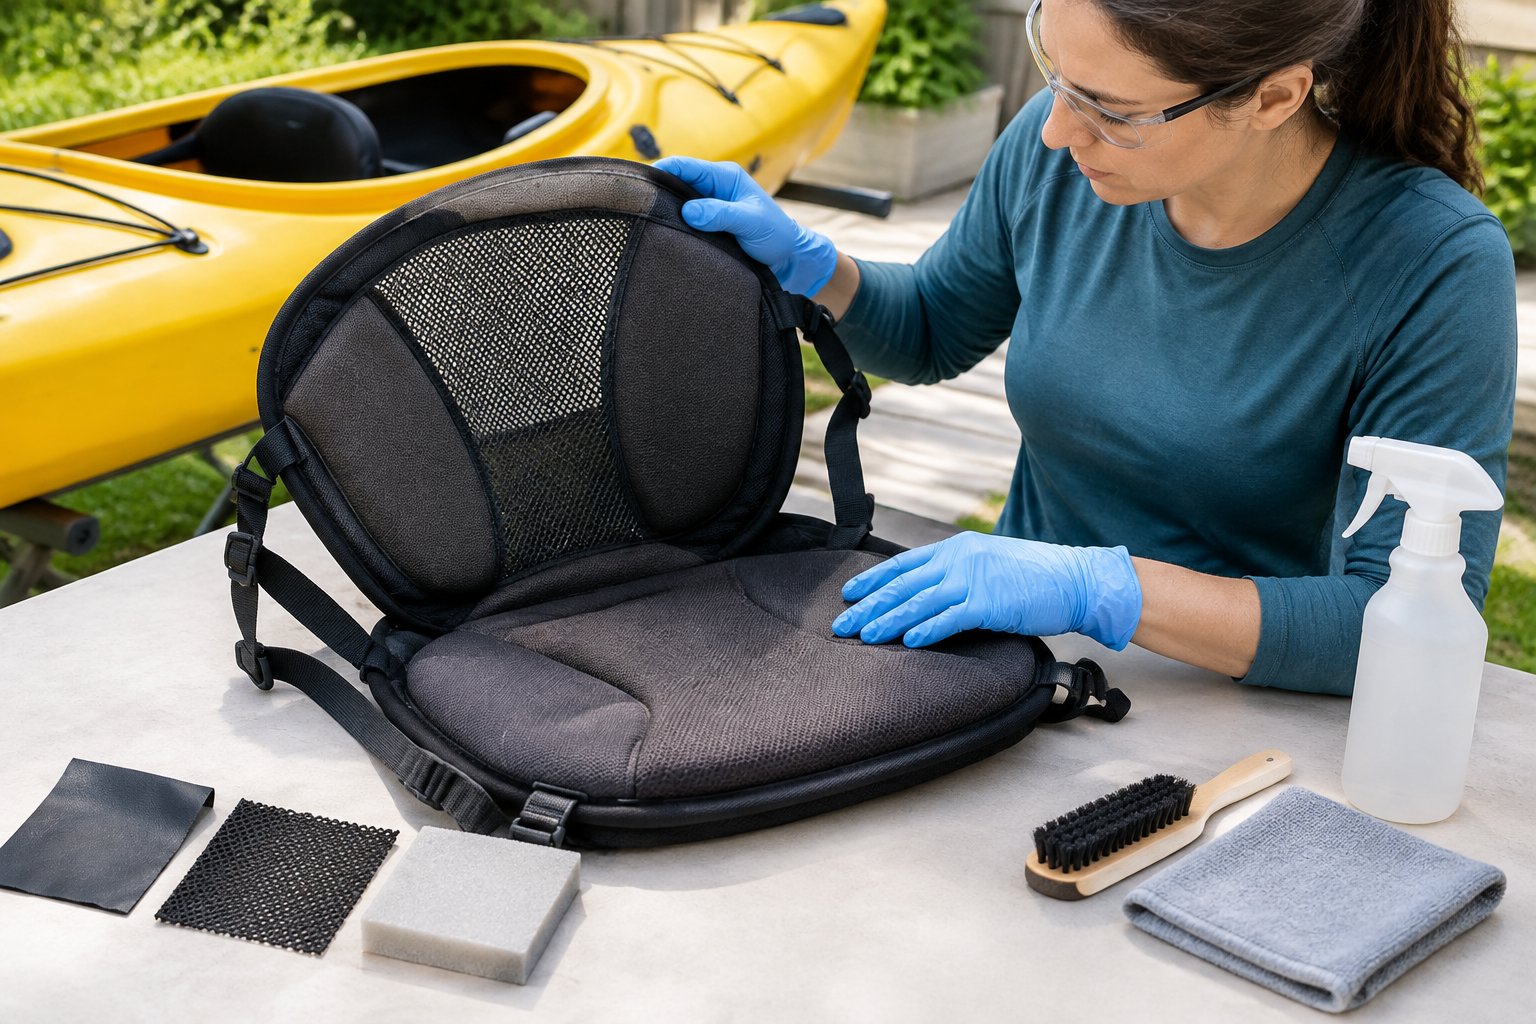
We recommend identifying every seat material before applying a cleaner. A single seat might combine mesh, foam padding, plastic supports, and coated fabric.
Check the manufacturer’s care instructions, including restrictions for removable covers. Vinyl boat seats need products approved for their protective finish. For mesh and fabric, check how cleaners affect dyes and backing. For foam, avoid trapping moisture. When cleaning inflatable kayaks, check compatibility with the seat and surrounding tube material separately.
Prepare your work area before handling visible growth:
- Work outdoors with good airflow, away from open doors and other people.
- Wear gloves, protective goggles, and a well-fitting N95 respirator.
- Keep cleaning runoff away from waterways and storm drains.
- Avoid dry brushing or using an ordinary vacuum on moldy areas.
If you have asthma, a mold allergy, or a weakened immune system, we recommend having someone else handle the cleanup. Extensive growth inside inaccessible padding warrants replacement or professional assessment.
Step 2: Gather Seat-Safe Cleaners and Tools
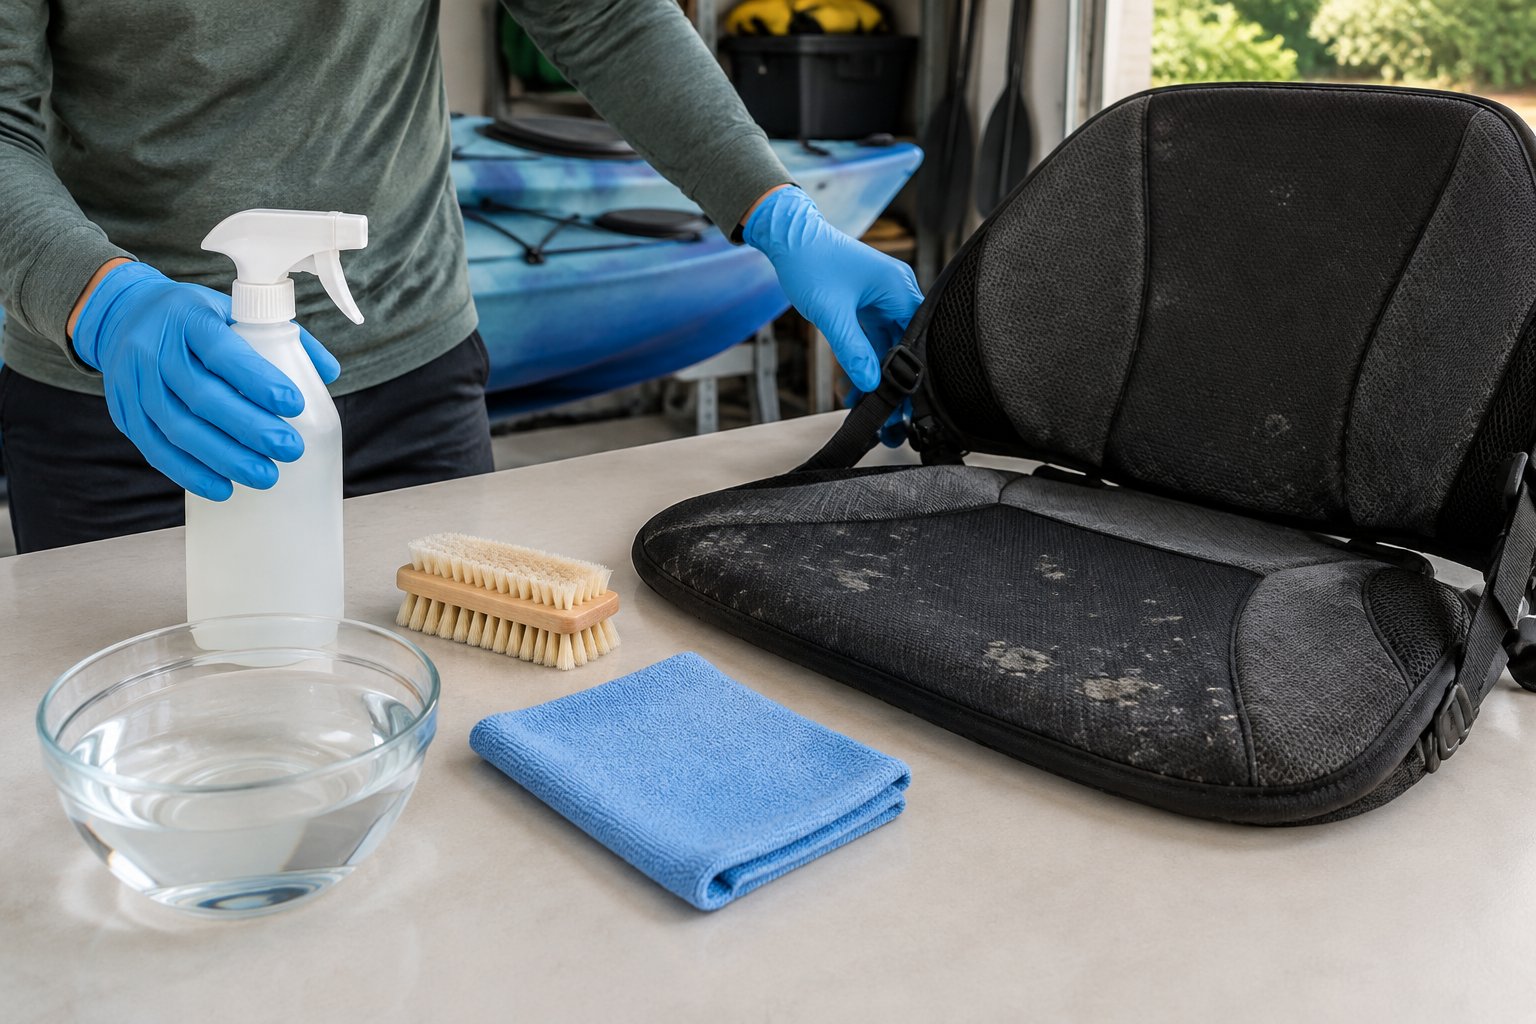
Our starting kit uses a mild detergent and gentle tools to loosen surface growth. Choose mild dish soap without bleach or abrasive ingredients, provided the seat maker permits it.
Gather these supplies:
- A bucket of lukewarm water
- Manufacturer-approved mild detergent
- A soft-bristled brush and a soft toothbrush for seams
- Several clean microfiber cloths
- Fresh rinse water or a hose with gentle flow
- A compatible spot cleaner, if needed
Keep separate cloths for washing and drying. Dirty wash water spreads residue across clean areas, so replace it when it becomes cloudy.
We recommend avoiding stiff brushes, abrasive pads, and solvent cleaners. Before treating a visible area, test the cleaning product on a hidden patch and let it dry. Check for fading, tackiness, or a change in texture.
Step 3: Remove the Seat and Expose Hidden Mold
Removing the seat gives you access to damp surfaces that are easily missed during kayak maintenance. We recommend photographing the strap routing and adjustment points before disconnecting anything.
Release clips or approved fasteners as directed by the manufacturer. Keep hardware together, and leave glued padding or sealed parts intact.
Inspect the following areas:
- The seat base and backrest underside
- Strap folds and buckle slots
- Removable cushion covers
- Mounting rails and the cockpit beneath the seat
Use this opportunity for a kayak equipment inspection, especially around frayed straps or cracked mounts. Clean the mounting area too, since a dirty, damp base will soil the seat again.
For a fixed seat, tilt the kayak securely to improve access. Avoid removing structural fittings without manufacturer instructions.
Step 4: Gently Wash Away Surface Mold and Dirt
We recommend washing accessible surfaces with mild detergent and water before treating individual stains. Follow the detergent’s dilution instructions, and apply the solution with a damp cloth.
- Lightly wet the affected surface to limit airborne dust.
- Wipe away loose residue with a clean section of cloth.
- Gently work textured areas with a soft-bristled brush.
- Clean seams and buckle openings with the small brush.
- Wipe away the loosened dirt and used cleaning solution.
Use light pressure on mesh and stitched edges. If a brush catches threads, it is too rough for that surface.
Use limited water around padded sections. Avoid soaking foam unless the manufacturer provides a washing and drying method for it. Physical removal is essential. A cleaner’s smell or a lighter stain does not establish that the seat is clean throughout.
Step 5: Treat Remaining Spots With a Compatible Cleaner
Remaining spots need a treatment approved for the exact seat material. Our recommendation is to choose one compatible option and follow its directions before considering another.
- White vinegar solution: Use only if the manufacturer permits vinegar on the fabric or coating. Follow its approved dilution and contact time; vinegar is unsuitable as a universal mold treatment.
- Baking soda paste: If approved, apply gently to residual discoloration with a damp cloth. It can dull coated surfaces, and using it does not establish that embedded mold has been removed.
- Mildew stain remover: Choose a product labeled for your seat material. Follow every restriction concerning stitching, nearby metals, and inflatable components.
Rinse away the previous cleaner before switching products. Never mix bleach with vinegar, ammonia, or another cleaner, because dangerous gases can form.
We recommend stopping if the surface becomes sticky, faded, or rough. A mildew stain remover’s stain-removal claim is different from a registered disinfectant claim, so follow the label for the intended task.
Step 6: Rinse Thoroughly and Dry Every Layer
Complete rinsing and drying are essential before the seat goes back into service. We recommend removing residue with gentle freshwater flow or repeated wipes with clean, damp microfiber cloths.
Use the method allowed by the seat maker, then blot excess water without twisting the padding. Inflatable kayaks need particular care because water trapped during storage encourages mold and mildew.
Separate removable layers and position them so air reaches both sides. Use a fan in a sheltered drying area, and avoid heat guns or prolonged hot sun. Check the seams and underside before reassembly. A dry cover does not prove the foam beneath it is dry.
Reattach the seat securely once every layer has dried. Restore your adjustments and check how your life vest fits while seated in the kayak, especially if you changed the backrest position. Drying the seat fully after every wash helps prevent mold.
When Do Persistent Stains or Odors Mean the Seat Needs Replacing?
We recommend replacement when mold is embedded in inaccessible padding or the seat remains musty after proper cleaning and full drying. Surface discoloration alone does not establish whether growth remains active.
Look for these warning signs:
- Musty odor coming from inside the cushion
- Spots returning quickly along seams
- Crumbling foam or damaged backing
- Cracked upholstery that exposes contaminated padding
- Weakened stitching or failing support straps
Mold on boat seats sometimes reaches beyond the visible cover. Re-covering affected foam leaves the underlying problem in place. On vinyl boat seats, inspect cracks and seam openings closely.
When choosing among replacement kayak seats, we favor accessible undersides and removable, washable parts. Check dimensions and attachment points because kayak seats are not universally interchangeable. Replace damaged mounting components before paddling.
How Can You Prevent Mold From Returning?
To prevent mold, remove residue and keep stored seats dry. The habits used to prevent mold on boat seats also apply to kayak cushions and backrests.
After paddling, rinse away salt or dirt as needed. Remove wet gear, lift removable cushions, and allow the cockpit to drain. Store detachable seats separately when the boat’s interior stays humid.
For kayak storage in a garage or shed, choose a dry location with airflow around the boat. Breathable boat covers help release moisture, but the kayak must dry before covering.
We recommend treating mold inhibitors as optional supplements to routine kayak maintenance. Use only products approved for the seat material and follow their application directions.
303 Aerospace Protectant is a UV protectant for compatible surfaces. Treat it as sun protection, and check the label before applying it to seating areas. Keep any slippery residue away from contact surfaces, straps, and buckles.
Keep Your Seat Clean, Dry, and Ready to Paddle
We recommend gentle washing followed by compatible spot treatment only where needed. Check hidden padding before putting the seat back into use.
For lasting mold prevention, dry the underside as carefully as the seating surface. Replace deeply affected foam or damaged upholstery, then store the clean seat with airflow around it.
Frequently Asked Questions
We recommend following the seat maker’s instructions whenever a cleaning shortcut raises questions. These precautions apply even when a product works well on another boat component.
Can you machine-wash a removable kayak seat cover?
We recommend machine washing only when the care label explicitly allows it. Remove the cover as directed and follow its wash and drying settings to protect backing and seams.
Can you mix mild dish soap with a white vinegar solution?
We recommend using mild dish soap and a white vinegar solution separately unless the manufacturer provides a combined cleaning method. Separate treatments make it easier to rinse away residue and follow each product’s instructions.
Is household bleach safe for vinyl boat seats?
We recommend avoiding household bleach unless the upholstery manufacturer expressly permits it. Follow the approved dilution and contact time exactly, including restrictions for stitching and adjacent materials.
Does black spotting identify a dangerous type of mold?
We would not identify mold species or health risk by color alone. Treat visible growth cautiously, limit exposure during cleanup, and assess the seat’s hidden layers before reuse.
Should you pressure-wash a moldy kayak seat?
We recommend gentle rinsing. High-pressure spray can damage stitching and drive water into the padding. Use a soft brush to clean seams and textured surfaces with better control.