

For a hole in a weldable polyethylene kayak hull, we recommend welding a matching plastic patch into sound surrounding material. Test for leaks before paddling. Plastic welding joins the patch and hull with heat, so material compatibility and careful heat control are essential.
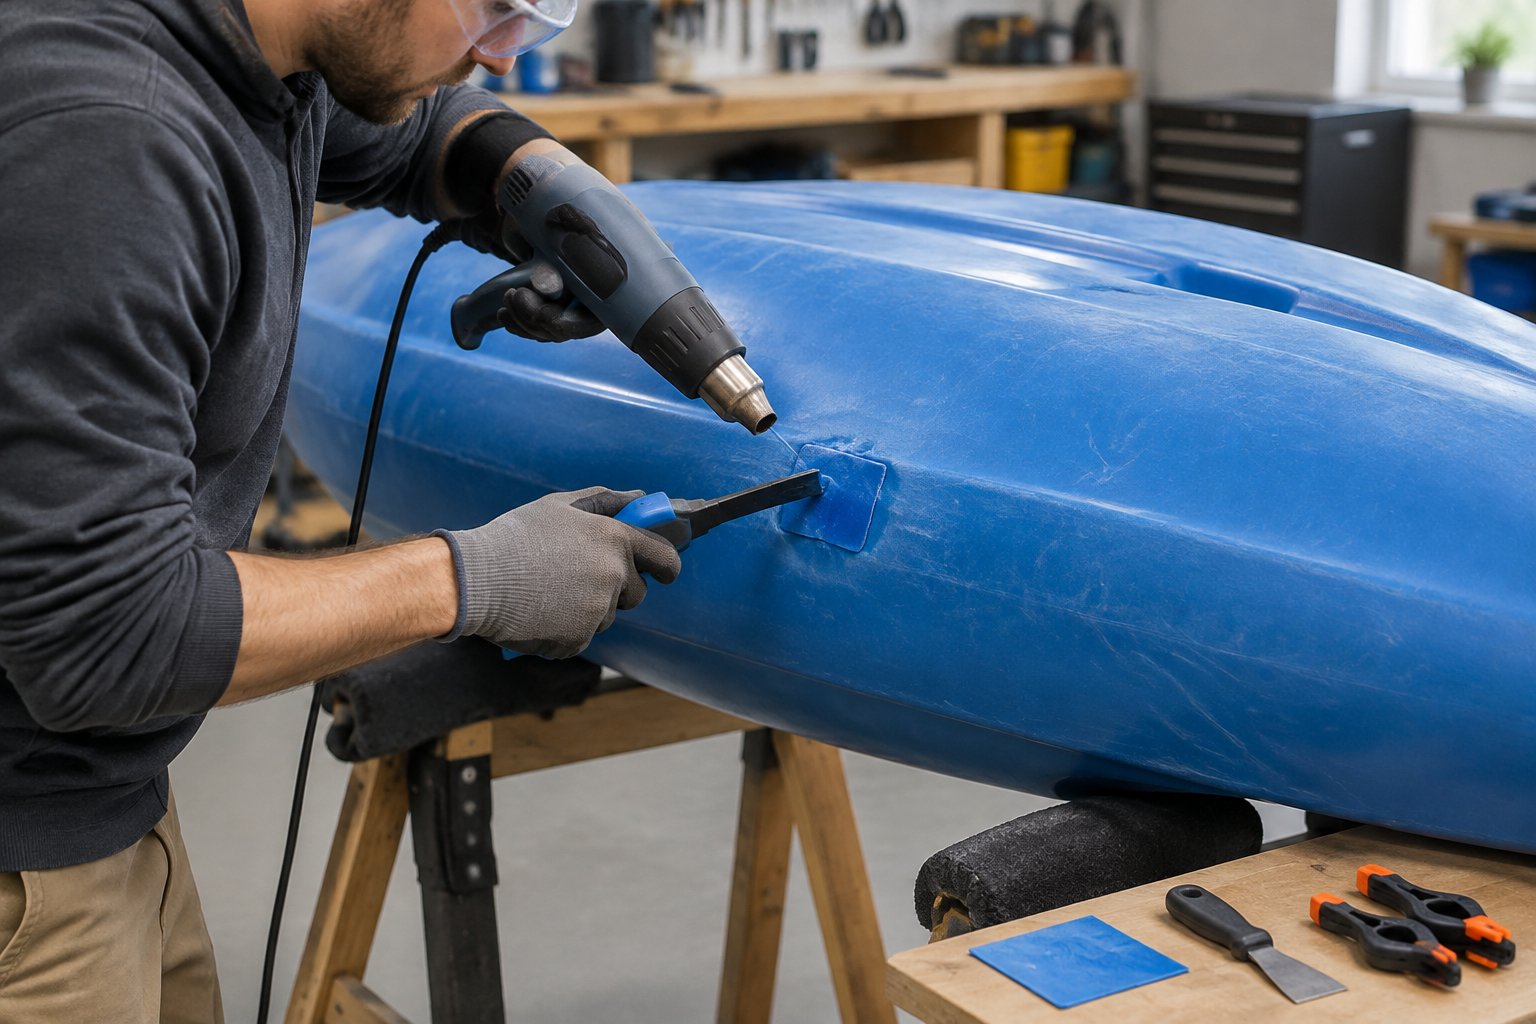
A worn-through keel needs more attention than a small puncture because the plastic around the opening is already thin. Assess the entire damaged area before buying kayak repair supplies. A watertight surface alone does not prove that the hull is strong enough for another trip.
Key Takeaways
- Confirm the hull material before applying heat.
- Your patch must join sound plastic beyond the damaged area.
- Inspect and leak-test every repair before launch.
Step 1: Confirm the Hull Material and Assess Whether Repair Is Safe
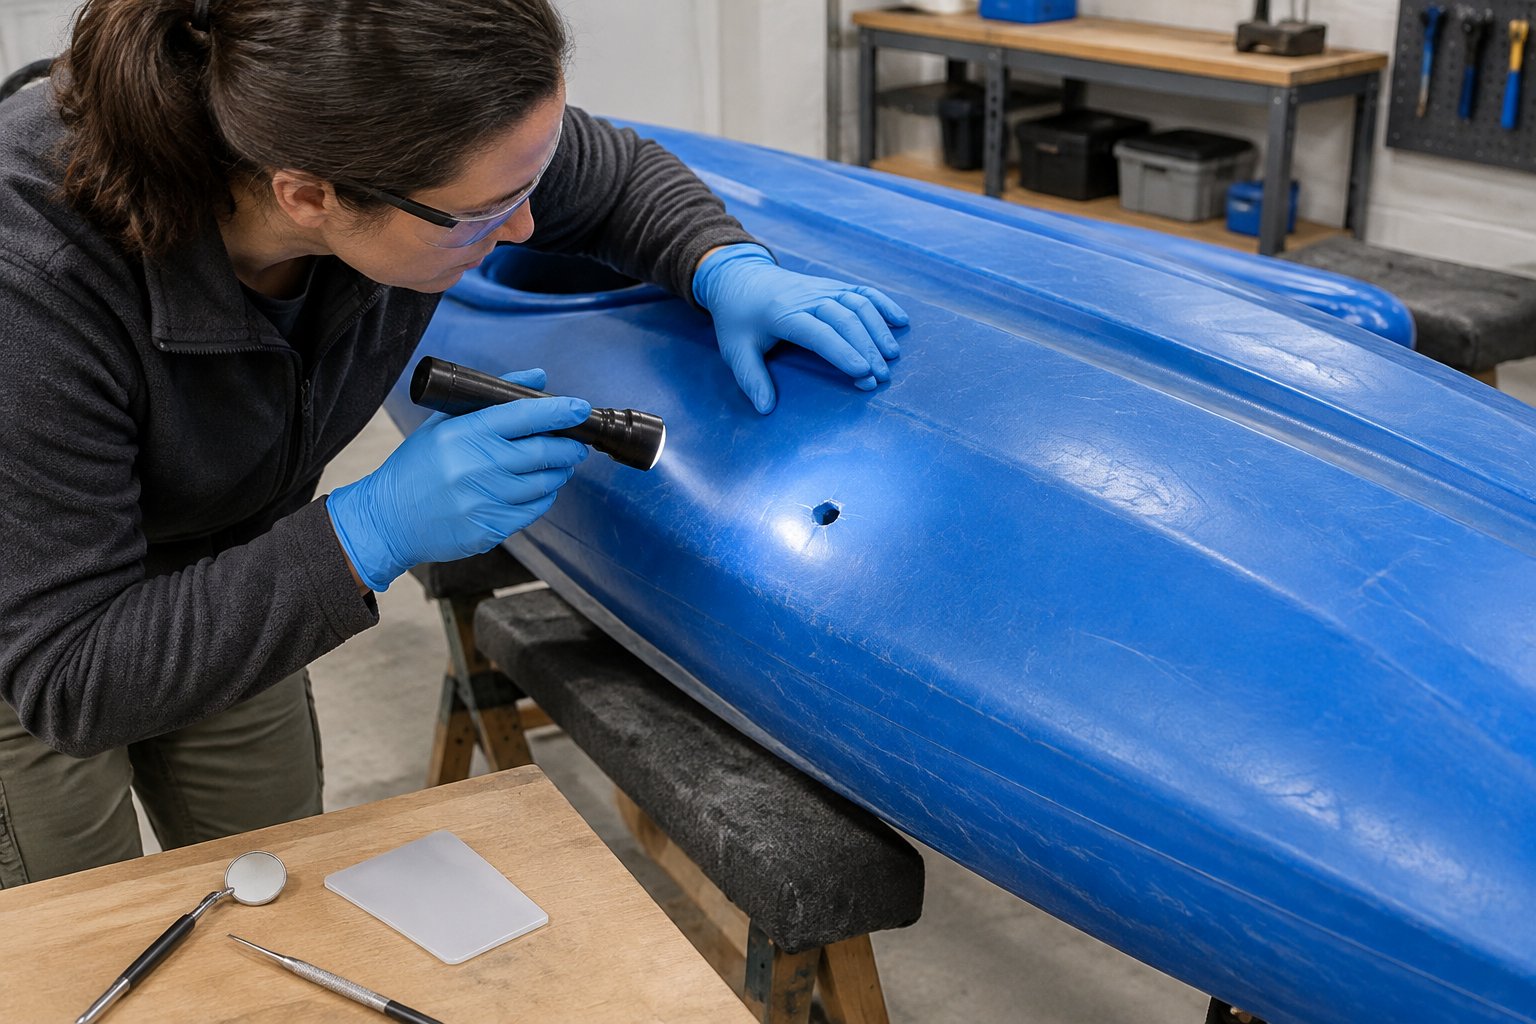
We recommend home welding only if you confirm that the hull is a weldable thermoplastic and the surrounding material is sound. Many rotomolded kayaks use high-density polyethylene, but the model’s specifications should guide your repair method.
Check the owner’s manual or ask the manufacturer using the model and serial number. A recycling mark can help identify HDPE plastic, but it does not show the hull’s full construction. Branded materials such as Pelican RAM-X also require model-specific repair instructions.
Inspect both sides of the damage where you can:
- Mark the full opening and any cracks extending from it.
- Look for thin edges, deep abrasion, or brittle plastic.
- Check nearby scuppers, molded seams, and mounting points.
- Note distortion or earlier repairs around the hole.
Linear polyethylene accepts conventional welding. Cross-linked polyethylene needs specialist advice because it does not melt and fuse in the same way. ABS, composite, and multilayer hulls also need their own repair procedures.
A broad worn-through area, damage near a load-bearing feature, or widespread brittleness calls for professional assessment. Keep the kayak off the water until you establish whether it can be repaired.
Step 2: Choose Compatible Welding Tools, Filler, and Safety Gear
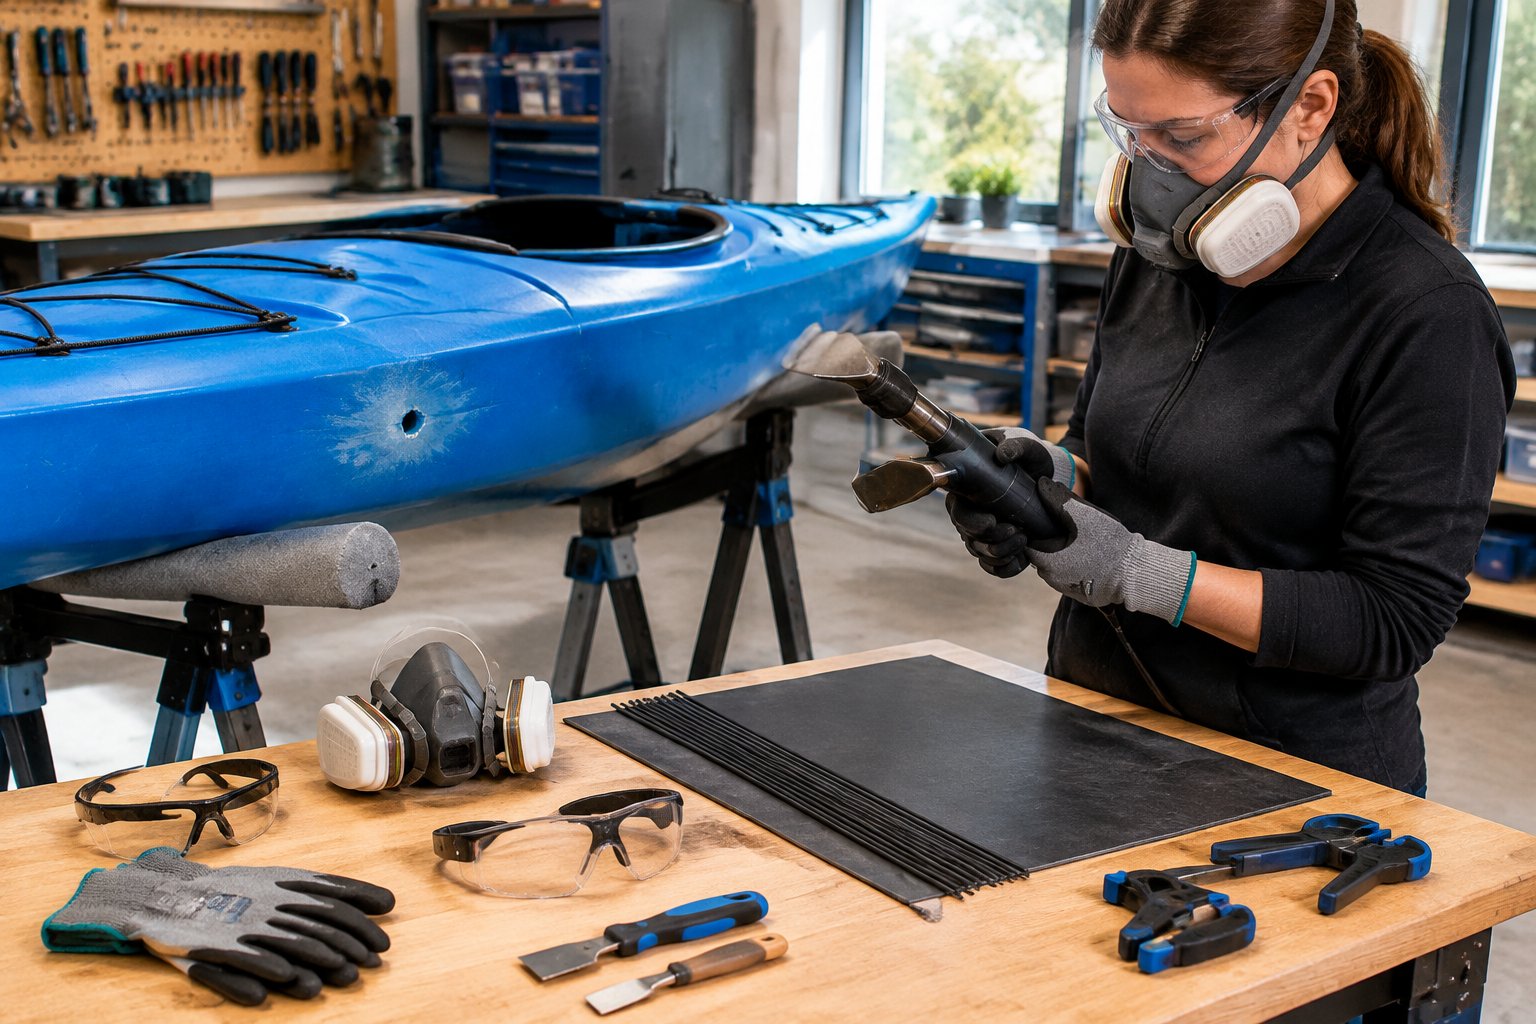
Our preferred setup is a temperature-controlled plastic welder with filler approved for your kayak’s material. A plastic welding kit is useful only if its included rod matches the hull.
Gather the following before starting:
- A plastic welding iron or hot-air plastic welder suitable for polyethylene.
- A compatible polyethylene welding rod and matching patch stock.
- A scraper, sharp knife, and sandpaper.
- Pliers and suitable supports or clamps.
- Safety glasses and heat-resistant gloves.
- Manufacturer-approved cleaner and clean cloths.
For an HDPE hull, choose an HDPE welding rod approved for that application. A polyethylene repair kit should list the plastics it supports. “Plastic repair” on the package is too broad.
A heat gun can help warm and shape a patch, but its broad airflow requires care around thin hull sections. An ordinary soldering iron offers limited control for a structural patch, so we favor a purpose-built tool.
Work in a well-ventilated area and keep your face away from fumes. Follow the tool’s safety instructions and any respiratory-protection requirements. Practice on compatible scrap before touching the kayak, and let all cleaning solvents evaporate before heating.
Step 3: Clean, Dry, and Prepare the Damaged Area
Expose clean, sound plastic across the entire repair area before shaping the patch. Dirt trapped in a weld leaves weak spots that additional filler will not correct.
- Empty and stabilize the kayak. Remove loose gear and support the hull on broad, padded surfaces.
- Wash thoroughly. Use mild soap and fresh water to remove grit and salt. Rinse away the soap.
- Dry inside and outside. Pay attention to water trapped near the opening or behind fittings.
- Remove damaged material. Trim loose curls and ragged edges while preserving sound hull thickness.
- Prepare the weld surfaces. Scrape away weathered surface plastic and shape the edges as required by the welding system.
- Clean again. Use a manufacturer-approved cleaner and let it evaporate fully.
If cracks extend from the opening, mark their ends before trimming. Stop-drilling is a crack-control technique, but it is unnecessary for an isolated puncture. Follow the hull maker’s instructions for preparing any cracks.
During kayak repair, avoid over-trimming. A neat opening is useful, but enlarging it beyond the damaged plastic adds work and removes support. Do not cut material from the cockpit rim or another structural part to make filler.
Step 4: Shape and Secure a Matching Plastic Patch
Use a single matching patch shaped to the hull’s curve, with a weld that joins solid material around the opening. For an inset repair, the patch should fit closely without being forced into place.
Obtain HDPE plastic from the kayak manufacturer or a repair supplier that confirms compatibility. Household items made from high-density polyethylene vary in grade and thickness, so a recycling symbol alone is not enough to choose structural patch stock.
Make a paper template, then cut the patch to fit the prepared opening. Smooth abrupt corners and match the original hull thickness as closely as the approved repair procedure allows. Shape the patch separately with controlled heat, then let it cool before checking the fit.
Dry-fit the patch and confirm that:
- Its surface follows the hull’s contour.
- Its edges meet sound plastic throughout the perimeter.
- The gap suits the welder’s specified joint preparation.
- Supports hold it steady without distorting the hull.
Use a removable, heat-tolerant backing support if the repair method calls for one. Keep tape and adhesive residue away from the weld surfaces.
An overlap patch uses a different joint design. Follow a manufacturer-approved layout for that approach. A patch resting over a hole still needs a structural bond around its perimeter.
Step 5: Weld the Patch and Hull Together With Controlled Heat
A sound weld requires the patch edge, hull edge, and filler to soften together at the joint. Use short, controlled passes to preserve the hull’s shape during the repair.
Set the plastic welder according to its instructions for the confirmed material. Settings differ between hot-air and contact welders, so a heat gun’s outlet temperature is not a universal welding temperature.
- Tack the patch in place. Add spaced tacks around the perimeter and recheck alignment.
- Warm a short joint section. Direct heat at both mating edges while keeping the surrounding hull supported.
- Introduce compatible filler. Feed the polyethylene welding rod into the softened joint with steady pressure.
- Continue around the patch. Join each pass to the previous weld and fill the prepared joint to the required depth.
- Complete the inner face where specified. Remove temporary backing when appropriate and follow the approved procedure for the inside seam.
The filler should merge into the joint. A bead that lifts away after cooling indicates poor fusion or contamination.
Stop heating if the plastic bubbles, smokes, discolors, or starts to collapse. Let the area stabilize and assess the damage before continuing. If your repair design requires an inside weld that you cannot reach, seek professional help.
Step 6: Let the Weld Cool and Finish Without Thinning the Hull
Leave the patch supported until the entire welded area has cooled naturally. Cooling time depends on the repair’s thickness and the amount of heat applied.
Keep the kayak still and avoid pressing on the seam while it is warm. Water quenching or forced cooling can cause uneven cooling across the repair.
If the welding procedure calls for light shaping with a plastic welding iron, use minimal pressure before the final cool-down. Once the weld is cold, remove sharp projections with a scraper. Sand only enough to eliminate snagging edges.
Preserving wall thickness matters more than making the surface perfectly flush. Trimming too deeply risks opening a hole in the hull, so leave sound repair material in place.
Look closely at the transition between the weld and the original plastic. A deep trough beside the bead indicates lost hull thickness and needs assessment before testing.
Step 7: Inspect the Repair and Test for Leaks Before Paddling
Check that the joint looks sound and passes a controlled leak test. A dry exterior alone does not establish the strength of a welded patch.
Inspect the cooled seam under bright light. Look for gaps, pinholes, burned plastic, and edges that lift. Apply gentle pressure around the patch and compare its movement with nearby hull material. Cracking sounds or separation require further work.
For the leak test:
- Support the kayak so the repair carries no concentrated load.
- Where interior access allows, add only enough water to cover the repaired area.
- Dry the outside and check the seam with a dry paper towel.
- Drain the kayak and inspect it again.
Avoid filling the whole hull with water, which adds substantial weight. Never pressurize a sealed kayak for testing.
If you cannot access the repair for this test, have a repair shop choose a suitable method. After a successful inspection, make your first trial close to shore in calm, shallow water with assistance available.
Before that trial, complete a kayak equipment inspection. Check hatch seals and drain plugs so a separate leak does not confuse the repair assessment.
When Are Adhesive Patches or Professional Repairs Better Options?
Use adhesive repairs only when the system explicitly supports your hull material. Choose professional repairs when the damage goes beyond a straightforward patch. Polyethylene’s low surface energy makes adhesive selection especially important.
Certain flexible epoxy systems bond to polyethylene after specific surface preparation. Surface treatment improves epoxy adhesion to polyethylene, but the treatment must match the adhesive maker’s instructions. Flame treatment involves fire risk and should be used only in an approved procedure.
Choose a polyethylene repair kit based on its stated compatibility and structural purpose. Observe the full cure time before loading or immersing the repair. Emergency tape and peel-and-stick patches are temporary measures unless their manufacturer approves them for permanent repairs.
Professional kayak repair is the better choice for:
- Damage around scuppers or other molded structural features.
- Large areas of worn or brittle plastic.
- Distorted hull sections or failed earlier repairs.
- Inaccessible joints requiring work on both faces.
- Unknown or cross-linked hull materials.
Ask the repairer whether the kayak will be suitable for its intended conditions after repair. Replacement is appropriate when too little sound surrounding material remains to support a durable patch.
How Can You Prevent Another Hole From Dragging or Wear?
Carry your kayak or use a properly fitted cart to reduce repeated abrasion at the keel. HDPE plastic loses thickness when dragged over rough ground, even when individual scratches look minor.
Check the bow and stern after transport, especially where the hull touches ramps or gravel. Replace a worn, replaceable skid plate before the wear reaches the hull. Any added keel guard must be compatible with the kayak and installed using the maker’s approved method.
Good storage also protects the repaired area from constant pressure. Storing a kayak in a garage or shed requires supports suited to the hull and enough clearance to keep the patch away from sharp edges.
Keep the kayak out of prolonged direct sunlight when practical. During transport, secure it firmly without crushing the hull against rack bars.
Return to the Water Only After the Repair Passes Inspection
We recommend returning to paddling only after the repair has cooled and passed inspection and leak testing. The patch needs to be securely fused to sound hull material, with no lifting edges or signs of heat damage.
Keep the first outing short and close to shore. Follow kayaking safety precautions throughout the trial. Wear a properly fitted PFD and carry the kayak safety equipment appropriate for your route. Recheck the patch and hull interior immediately after landing.
Frequently Asked Questions
We use material compatibility and repair condition to answer common welding questions. Follow any model-specific instructions from your kayak manufacturer.
Can you fill a hull hole with welding rod alone?
We recommend a matching patch when material is missing across an opening. Filler alone suits certain small defects. Bridging a larger unsupported hole makes joint thickness and fusion difficult to control.
Can you use a soldering iron for plastic welding?
We recommend a purpose-built plastic welding tool for a hull patch. It offers a working tip and heat control suited to the task. An ordinary soldering iron concentrates heat in a small area, so take particular care to avoid burning through.
Does a watertight patch restore the kayak’s original strength?
A watertight patch proves only that water did not pass through during the test. We recommend professional assessment before using a structurally repaired kayak in demanding conditions.
Can a milk jug supply HDPE plastic for the patch?
We recommend manufacturer-supplied patch stock or confirmed compatible repair material. Even when a jug is marked as HDPE plastic, its thickness and grade differ from kayak hull stock.
What should you do if the weld leaks?
We recommend drying the hull completely and locating the exact defect before applying more heat. A pinhole needs a different correction than a seam that lifts or separates. Poor fusion calls for reworking the faulty joint.