

We recommend that you store your kayak outside in winter on a stable, padded rack in a sheltered spot. Keep the boat fully dry and protect it with a ventilated weather cover. For a hard-shell kayak, this setup limits moisture exposure and spreads the boat’s weight across suitable supports. Follow your model’s storage instructions for its position and support locations.
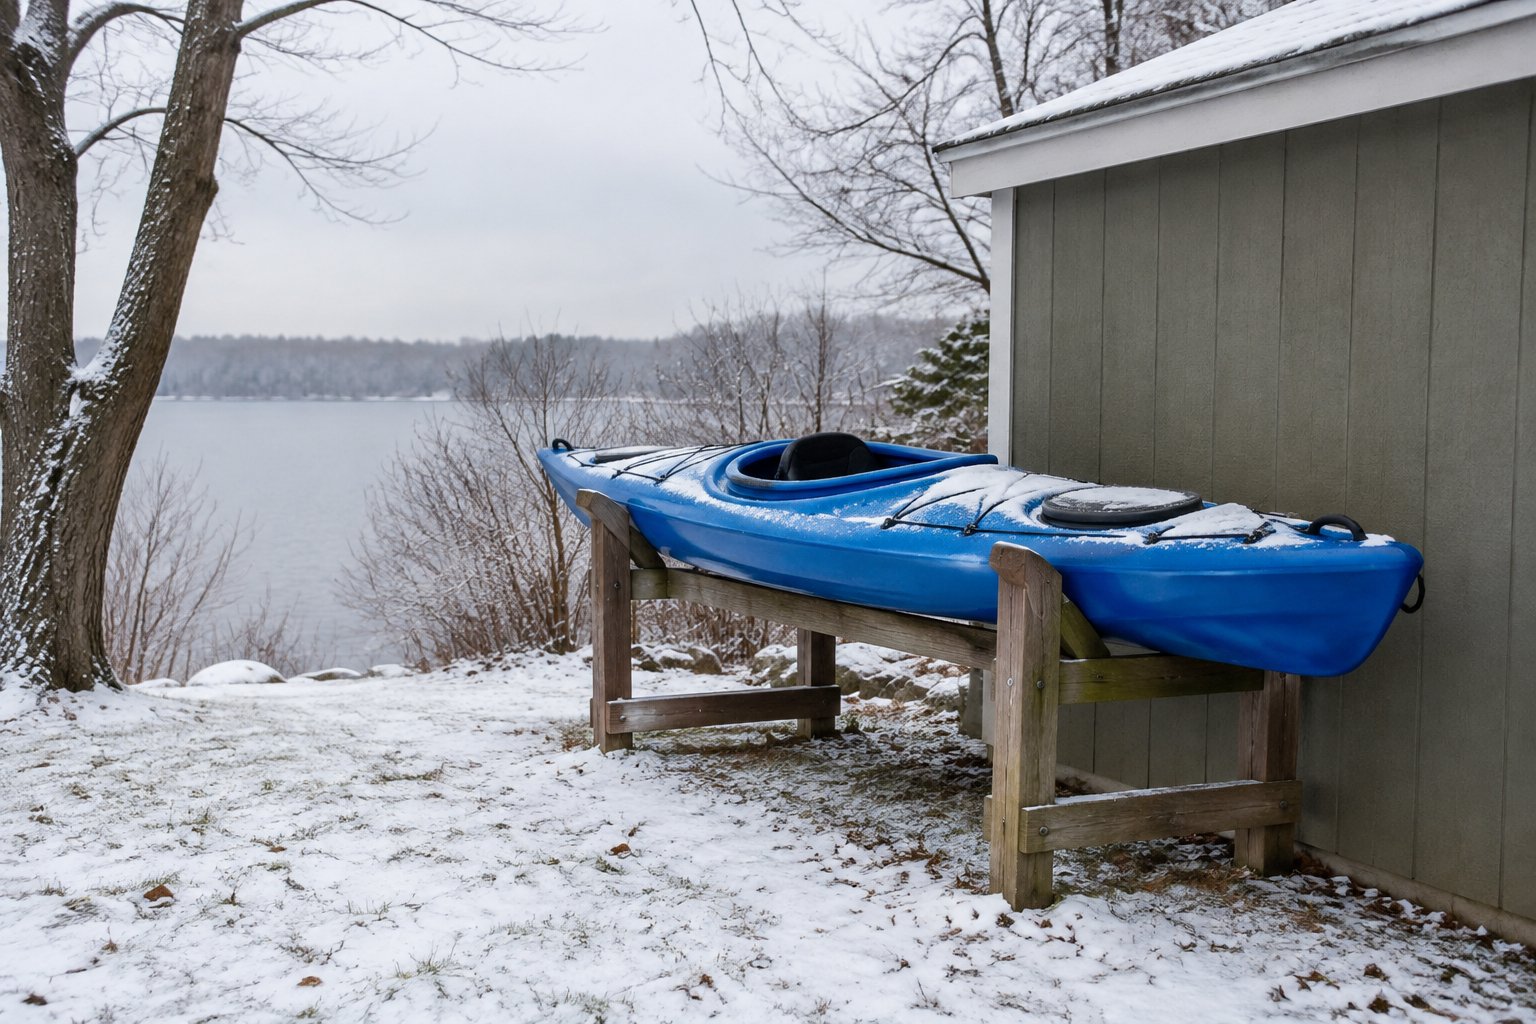
Winter kayak storage takes more than covering the boat and leaving it until spring. Water collects beneath seats and inside hatches, while loose covers flap against the finish. Our approach starts with careful preparation and includes checks after storms, when small problems are easiest to catch.
What Does a Safe Outdoor Winter Setup Require?
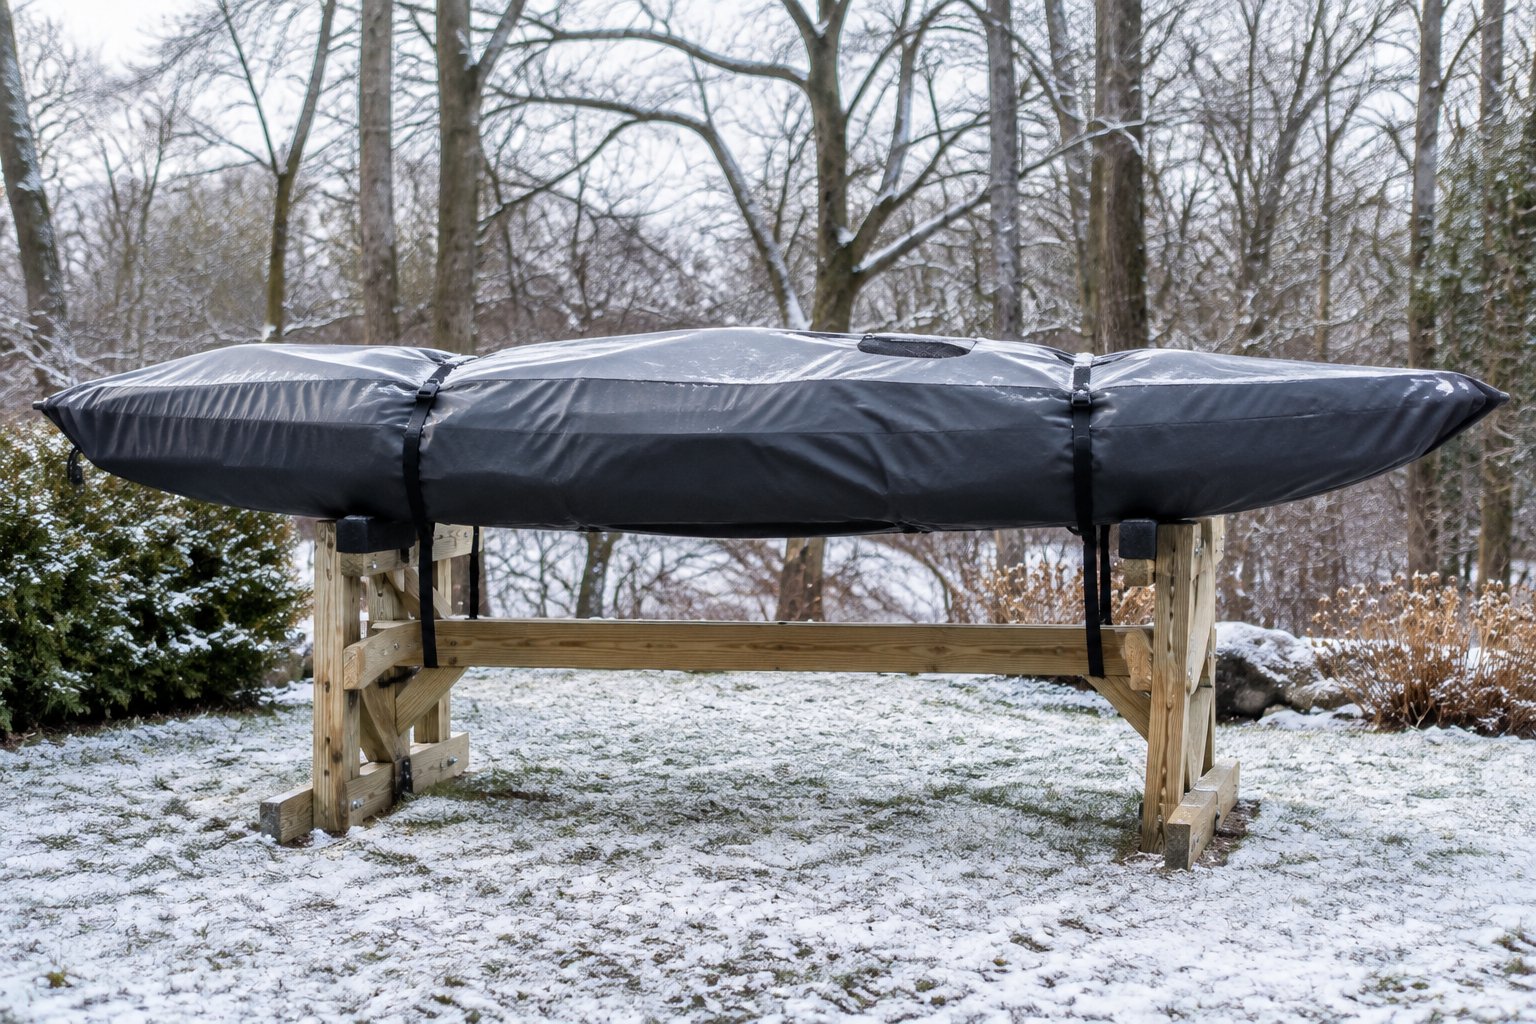
A safe outdoor kayak storage setup needs shelter, broad padded supports, weather protection, and secure anchoring. Gather everything before moving the boat into its winter position.
Your supplies should include:
- Mild soap, fresh water, a soft sponge, and dry towels.
- An outdoor-rated rack or stable stands suited to the kayak’s weight.
- Firm padding that stays in place at every contact point.
- A weather-resistant cover with ventilation, or a suspended tarp.
- Wide restraint straps and a suitable security cable.
Check the owner’s manual for storage limits and any parts that must remain installed. Some seats or support structures help maintain a boat’s shape.
A dry indoor space offers better protection from weather. If rearranging your equipment creates room, our preferred garage or shed storage methods keep the kayak accessible without leaving it exposed.
Step 1: Inspect, Clean, and Thoroughly Dry Your Kayak
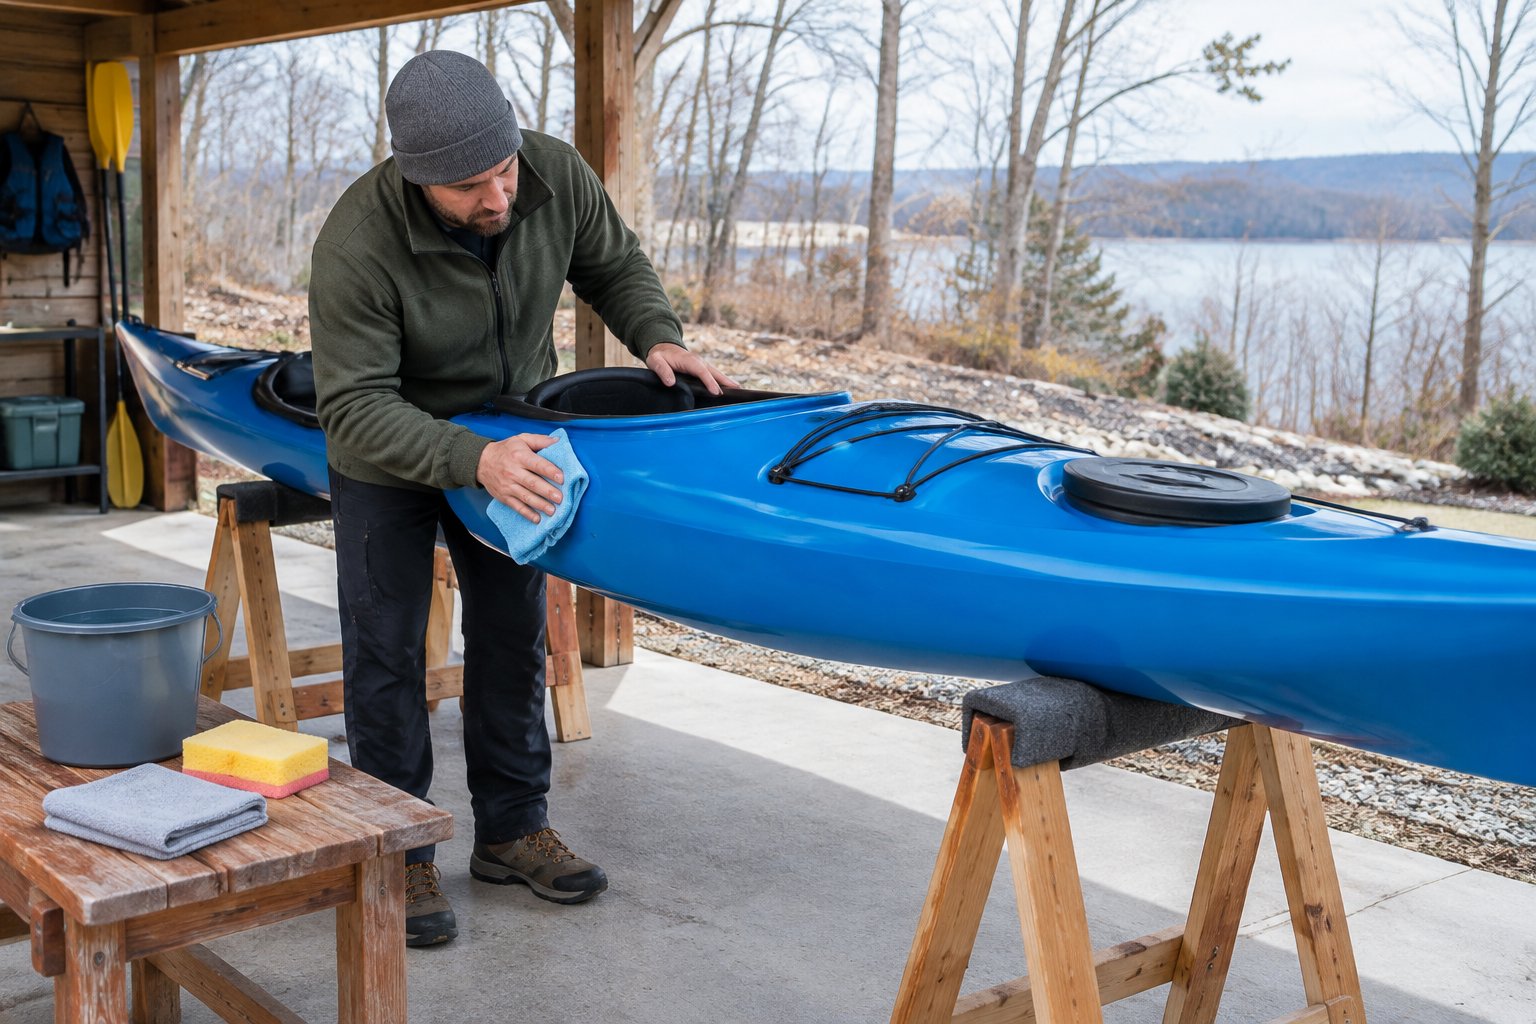
Start preparing your kayak for storage by inspecting the boat, washing away residue, and drying every accessible compartment. Do this while the kayak is still easy to turn and examine.
- Inspect the hull and fittings. Look for cracks, deep scrapes, loose hardware, damaged seals, and worn deck lines. Photograph anything that needs repair.
- Wash gently. Use mild soap and a soft sponge, then rinse with fresh water. Pay attention to salt residue around metal fittings and grit inside footrest tracks.
- Remove suitable accessories. Take out detachable fabric seats, electronics, fishing gear, and loose equipment. Leave structural parts installed when the manual requires them.
- Drain and dry. Carefully tilt the kayak to empty water pockets. Open hatches during drying, wipe reachable surfaces, and let damp foam or fabric air-dry fully.
A towel-dry deck does not confirm that the hull interior is dry. Check beneath the seat and inside the ends with a light. Our recommended kayak equipment inspection checks also help identify worn parts before they return to service.
Step 2: Choose a Sheltered Spot With Good Drainage
Choose a shaded location where runoff flows away from the rack and falling debris cannot reach the boat. We favor a covered patio, carport, or protected side of a building with enough room to inspect the entire kayak.
Check the location during wet weather if possible. Water dripping through deck boards or spilling from a gutter can create a damp storage area, even beneath a roof.
Before committing to a spot, check for:
- Roof edges that shed heavy snow or ice.
- Dead branches above the storage area.
- Low ground where meltwater pools.
- Snowblower discharge and shoveled snow piles.
- Strong wind blowing through narrow gaps between buildings.
Leave access to both ends so you can remove the cover and check the supports. Make sure there is enough clearance above the ground for snow to build up.
If an indoor overhead space becomes available, a properly installed kayak hoist offers another way to free floor space. Confirm that the structure and lifting system support your boat’s weight.
Step 3: Set Up a Stable, Padded Storage Rack
A suitable kayak rack holds the boat securely above the ground without rocking, sinking, or creating hard contact points. Check the rack’s rated capacity, outdoor suitability, and fit before loading the kayak.
Freestanding kayak racks need firm, level footing. Position the feet so runoff will not wash out the base, and anchor the rack as its manufacturer directs.
For other setups:
- Kayak stands: Use matching, stable stands with broad padded contact surfaces.
- Wall-mounted kayak rack: Fasten it into sound structural framing or suitable masonry with the specified hardware.
- DIY supports: Use sound materials, secure joints, and weather-resistant fasteners. Cover every contact surface with durable padding.
A fence panel or thin shed siding needs structural reinforcement before it can carry a loaded rack. Check the mounting surface as carefully as the rack itself.
Of the many kayak storage ideas available, choose one that allows easy inspection. You should be able to see the feet, fasteners, and padding without unloading nearby equipment.
Step 4: Position and Support the Kayak Without Pressure Points
Position your kayak in its manufacturer-approved orientation, with its weight spread across broad, padded supports. Ask for help lifting if the boat is too large to place safely on your own.
For many hard-shell models, winter storage on the side or upside down is recommended. The right choice still depends on the boat’s construction and rack design.
Place supports at the locations specified in the manual. Keep narrow rack edges away from unsupported deck panels, hatch covers, and delicate fittings. Bulkhead locations provide useful reference points only when the manufacturer approves supporting those areas.
Once the kayak is resting securely:
- Check that each support carries weight.
- Confirm that padding has stayed in place.
- Remove anything stored inside or on top of the boat.
- Check for visible bending or dents around contact areas.
Keep grab handles free from suspended storage loads. Adjust restraint straps only enough to prevent movement, since sustained tight pressure can distort some plastic hulls.
Step 5: Fit a Weather Cover Without Trapping Moisture
Fit a kayak cover that sheds precipitation while allowing damp air to escape. We prefer a purpose-made outdoor cover with secure attachment points and ventilation suited to the storage position.
Cover the entire boat, including its ends. Smooth out pockets where rainwater could collect, and keep the cover clear of sharp fittings that could rub through the fabric.
A heavy-duty tarp works as an overhead shelter when it is independently supported and pitched to drain. Leave airspace above the kayak and allow airflow beneath the edges. Avoid tight wrapping that holds damp material against the hull.
For a sit-inside kayak, fit a cockpit cover after the interior has dried. This blocks leaves and discourages animals, but the outer weather protection still needs to keep rain and snow away.
Check the cover’s fit after securing it. Loose fabric should not whip against the hull, and attachment cords should not pull the boat out of position.
Step 6: Secure Against Wind, Pests, and Theft
Secure the rack and kayak separately so wind cannot shift the storage system or lift the boat. Use wide straps over supported areas, with enough tension to hold the kayak without squeezing it.
Attach tarp lines to suitable anchors. Keep cover tension from pulling directly on deck rigging or carrying handles.
Remove food, bait, and scented fishing supplies before closing the boat. Clean out crumbs and check nearby storage for nesting material. A cockpit cover helps exclude pests, but regular checks remain necessary because rodents chew fabric.
For theft protection, use a suitable locking cable through a secure attachment point or purpose-made kayak locking device. Anchor it to a fixed structure, and keep valuable removable gear indoors.
Record the hull identification number and save photographs of the boat. Store it out of street view, with outdoor lighting where practical.
Step 7: Check Regularly and Remove Accumulated Snow
Inspect the setup throughout winter and after strong wind, heavy snow, or freezing rain. Check more frequently when storms arrive close together.
Use a soft brush to remove loose snow before it becomes a heavy load. Work from stable footing, and keep shovels and sharp scrapers away from the kayak cover.
During each check:
- Look beneath the cover for droplets or damp fabric.
- Check the kayak rack for movement, loose bolts, or sinking feet.
- Confirm that straps and padding remain correctly positioned.
- Inspect openings for pest activity.
- Clear runoff paths around the supports.
If you find moisture, uncover the boat during suitable dry weather and let the affected areas dry. Adjust the shelter or ventilation before covering it again.
Allow ice bonded to the cover to thaw naturally. Pulling frozen fabric away risks tearing it or damaging fittings. If you take the kayak out during winter, our recommended winter kayaking precautions include planning for cold water, followed by another full drying cycle before storage.
Step 8: Inspect and Reassemble Before Your First Spring Paddle
Complete a full condition check before returning the kayak to the water. Uncover it early enough to repair damage and replace worn parts without rushing.
Examine the hull for cracks, changes in shape, and soft areas. Check hatch seals, bulkheads, handles, deck lines, and every fitting used to secure equipment.
Reinstall removable parts using the manufacturer’s instructions. Fit the drain plug, check footrests and seat attachments, and operate the rudder or skeg through its full range. Service pedal drives and other moving parts with approved products.
Inspect your paddle and personal flotation device as well. Our kayaking safety recommendations include carrying suitable rescue equipment and dressing for water temperature.
Before loading the boat, check your kayak transport setup for worn straps and loose rack fittings. Begin with a short outing close to shore, and address any water entry or control problems before a longer trip.
Keep Your Kayak Dry, Supported, and Ready for Spring
[Deleted]
Frequently Asked Questions
Outdoor kayak storage also requires attention to drain plugs and material-specific care. Resolve these details before closing the cover for the season.
Should you leave the drain plug open during winter storage?
Follow your kayak manufacturer’s instructions; some sit-on-top models call for an open drain plug during storage to help vent the hull. Protect the opening from rain and pests, keep any removed plug with your labeled accessories, and reinstall it before launch.
Can you store an inflatable kayak outside all winter?
We recommend storing an inflatable kayak indoors, fully clean and dry, in the condition specified by its manufacturer. Protecting inflatable kayak durability includes avoiding sharp folds and keeping the packed boat away from rodents.
What should you do if the kayak cover freezes to the boat?
Leave the frozen area undisturbed until it thaws enough to release without force. Clear loose snow gently, then dry the cover and hull before restoring the storage setup.
Should you apply a UV protectant before covering the kayak?
Apply a UV protectant only if the kayak manufacturer approves it for the hull material. Follow the product directions, and keep it away from areas where it could interfere with future repairs or adhesive bonding.