

For a deep gouge in a weldable polyethylene kayak hull, we recommend cleaning and drying the damage, then fusing compatible plastic into the groove with controlled heat. After the repair cools fully, trim the excess and check the bond before paddling. This approach suits isolated gouges where the surrounding hull remains sound.
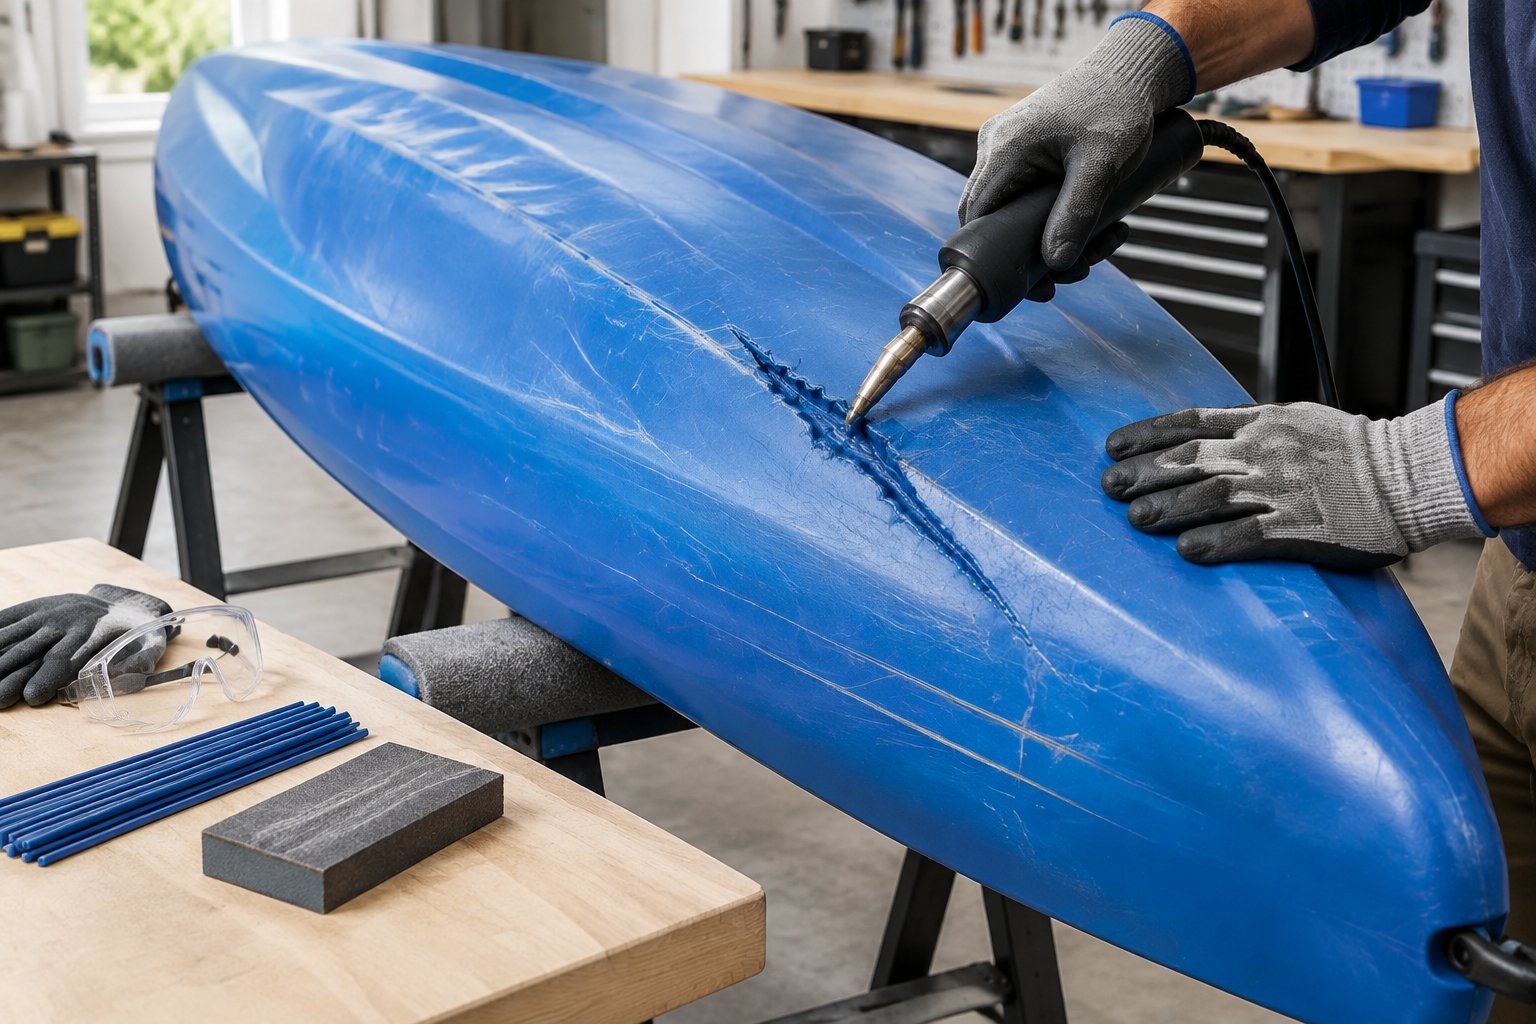
The first decision in kayak repair is whether the damage needs filling. A shallow scrape needs a different response from a deep cut, and a crack needs closer assessment.
Heating the wrong material or sanding away sound plastic creates extra damage. Start with inspection and material identification.
Does the Gouge Need Repair or Can You Leave It Alone?
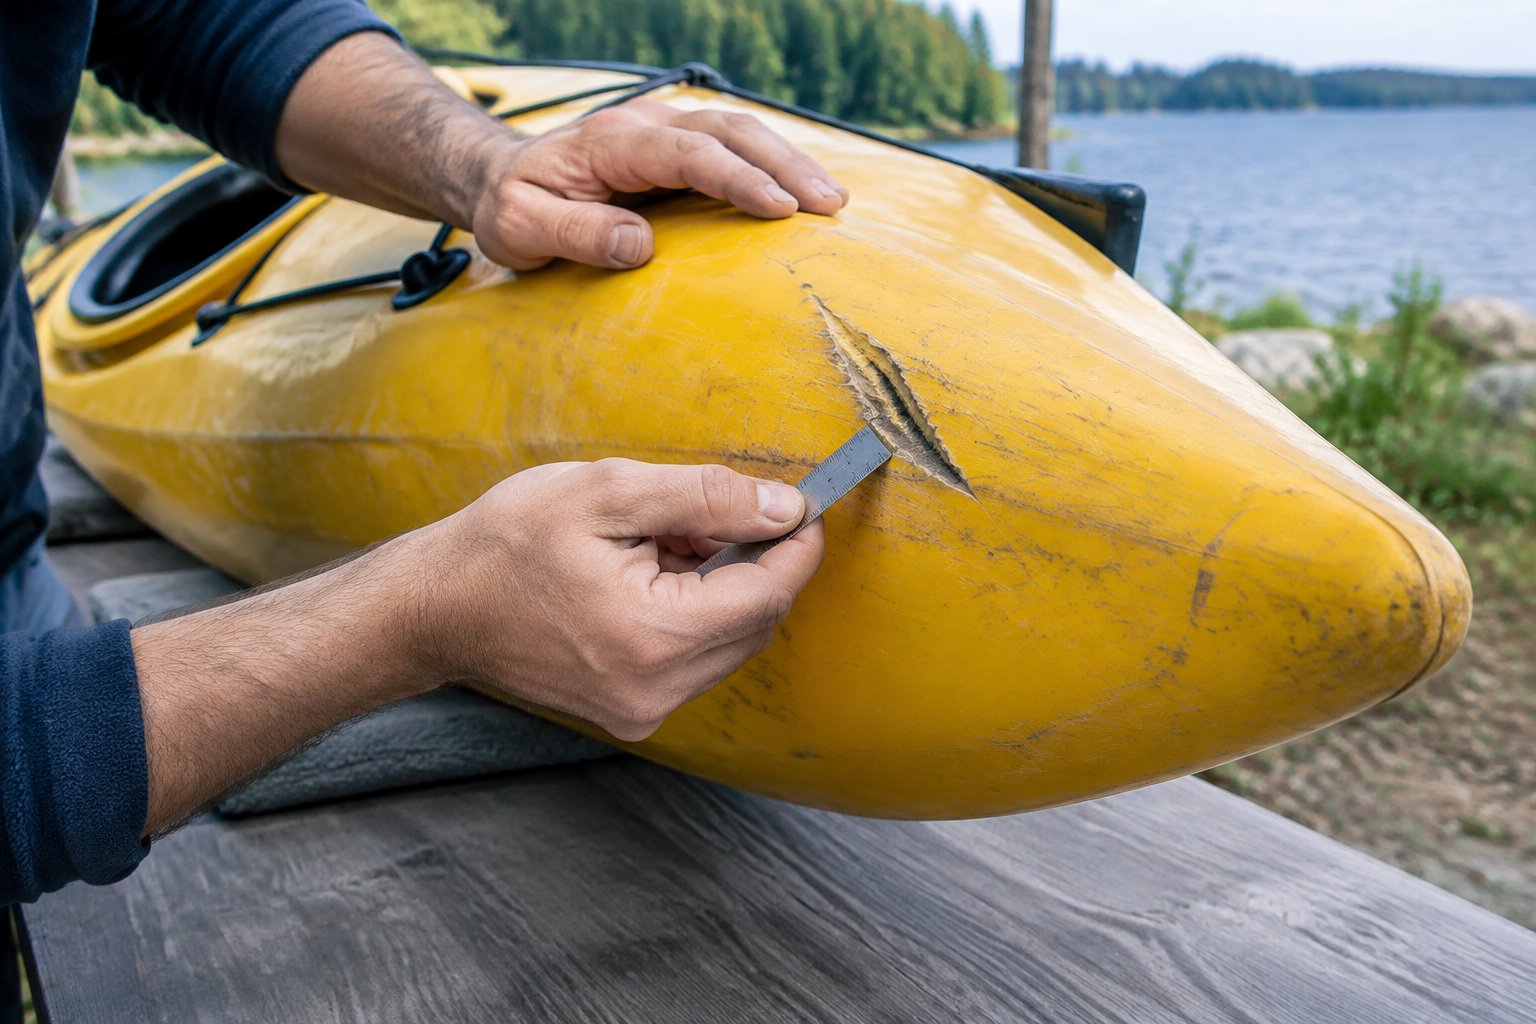
We recommend leaving shallow surface scratches alone when the hull retains its normal shape and stiffness. Polyethylene collects scrape marks during normal use, and removing every mark wastes hull material.
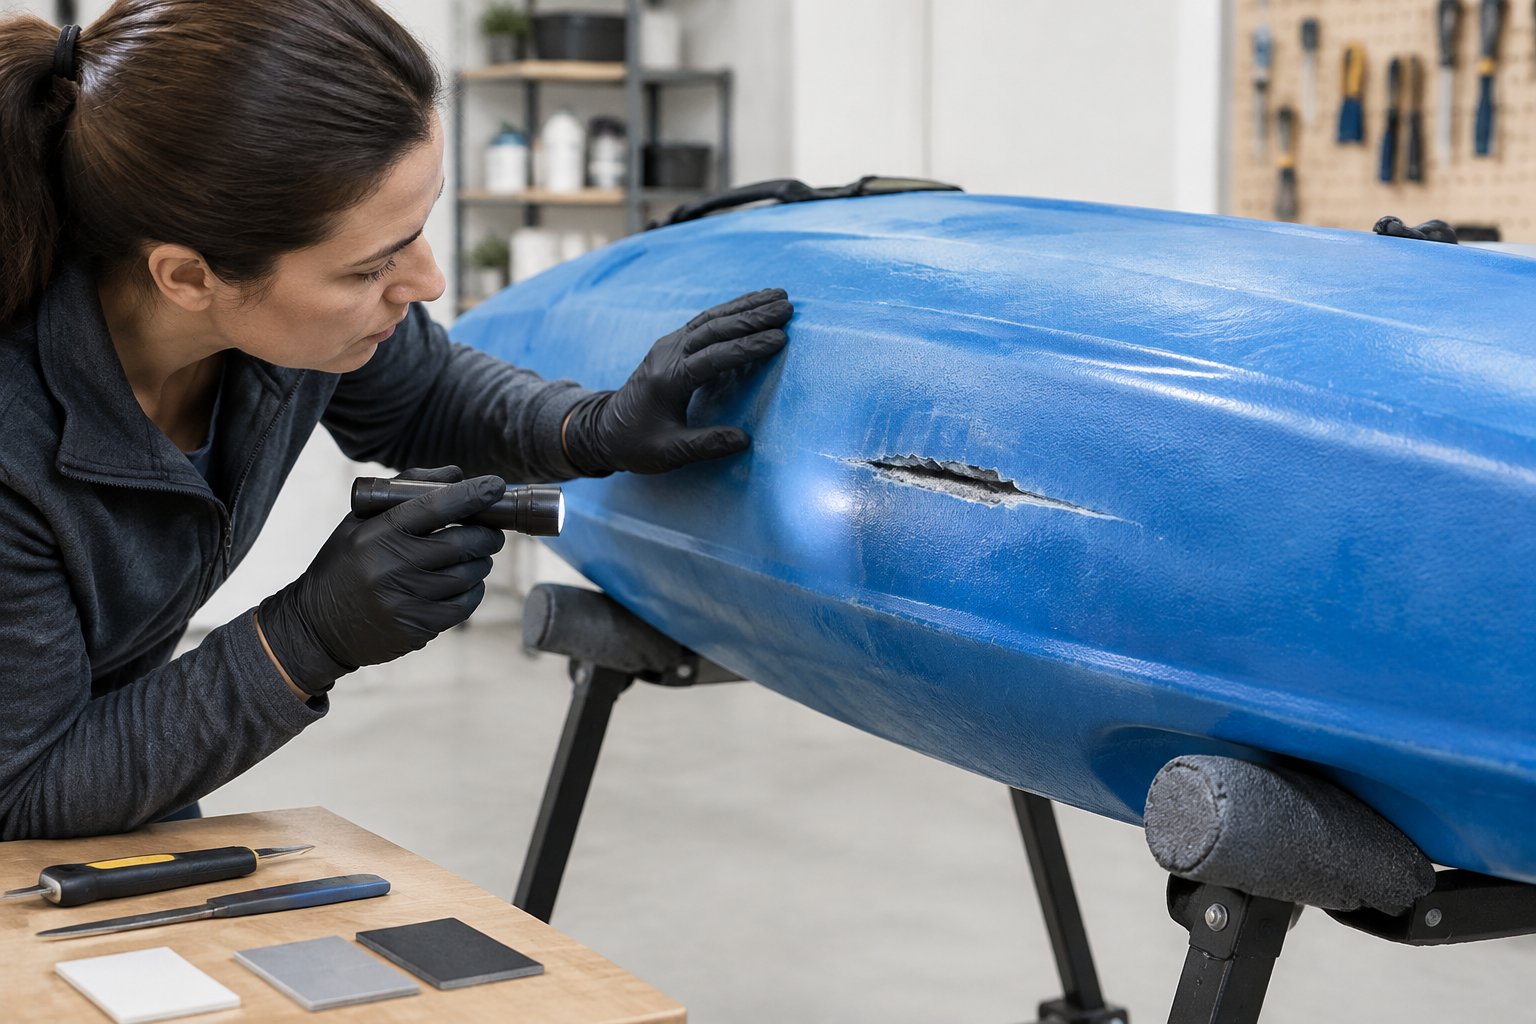
Wash the area so you can judge the damage clearly. Then inspect the groove and, where possible, the inside surface directly behind it.
- Surface scratch: A light mark with little material missing and no crack.
- Raised burr: A loose curl or sharp edge that needs careful trimming.
- Deep gouge: A groove with missing plastic that needs assessment for lost wall thickness.
- Crack or puncture: A split or opening that requires a structural repair plan.
A fingernail catching in a scratch tells you the surface is uneven, but it does not establish structural damage. Check for unusual flex, branching lines, or visible thinning.
If you cannot judge the remaining wall thickness, ask the manufacturer or a repair shop before applying heat.
Confirm Your Hull Material Before Choosing a Repair Method
Plastic welding is appropriate only when the hull resin and construction support heat fusion. Confirm the exact model and material through the owner’s manual or manufacturer before buying filler.
Many rotomolded polyethylene hulls use weldable thermoplastic, but the word “plastic” alone gives too little information. Cross-linked polyethylene needs a different repair approach, while layered hulls require construction-specific instructions. Thermoformed ABS/acrylic boats also need their own repair materials.
Trade names require extra care. For example, Pelican RAM-X hull materials need a model-specific check before you apply instructions intended for a single-layer rotomolded hull.
Adhesive products labeled “Plastic Welder” are different from heat-welding tools. Some thermoformed kayaks use methyl methacrylate adhesives for repairs, so matching the repair method to the hull is essential. Avoid identifying resin by burning a shaving or testing solvents on the boat.
Gather Compatible Repair Materials and Safety Equipment
We recommend manufacturer-approved filler and an adjustable plastic-welding tool for a deep gouge. A compatible HDPE welding rod suits an HDPE hull when the manufacturer confirms the match.
Gather the following before starting:
- Matching welding rod or manufacturer-supplied repair plastic.
- An adjustable plastic welder or heat gun with a suitable nozzle.
- Mild soap, clean water, and lint-free cloths.
- A sharp scraper or trimming blade.
- Sandpaper and a small sanding block.
- A clean metal shaping tool.
- Eye protection and heat-resistant gloves.
- Stable, padded hull supports.
- A fire extinguisher suitable for the workspace.
Color matching helps the appearance, but resin compatibility determines whether the filler fuses properly. Avoid household containers or unidentified scrap plastic. Even a familiar recycling symbol leaves questions about additives and the exact resin.
Work in a well-ventilated area with combustible materials cleared away. Keep power cords dry, and position the tool so its hot nozzle cannot touch the hull when you set it down.
Any solvent used during preparation must evaporate completely before heating begins.
Clean, Dry, and Prepare the Damaged Area
A clean groove gives the filler direct contact with sound hull plastic. Start preparation with soap and water because grit and oily residue interfere with a repair.
- Support the kayak. Position the damage facing upward on broad, padded supports. Keep pressure off the repair area.
- Wash thoroughly. Scrub dirt from the groove and rinse away soap.
- Inspect again. Look for cracks hidden beneath dirt or raised plastic.
- Trim loose material. Remove hanging curls and detached fragments without cutting into sound hull.
- Prepare the bonding surfaces. Follow the welding-tool and hull-maker instructions for scraping or light abrasion.
- Remove debris and dry completely. Clear sanding dust from the groove and check accessible interior surfaces for moisture.
Use sandpaper sparingly. Deep grinding enlarges the damage and reduces the wall thickness available for welding.
Use only cleaners approved for your hull. Remove old adhesive or protective coatings from the repair area, and let approved cleaners evaporate before bringing in a heat tool.
Control the Heat Without Warping the Hull
Controlled, localized heat should soften the welding surfaces while preserving the hull’s shape. We favor an adjustable plastic welder because its focused output helps limit heating around the gouge.
A heat gun requires steady movement and close attention. Follow the tool maker’s settings for the confirmed resin, and practice on matching scrap before working on the kayak. The temperature shown on a tool describes its output, not the temperature inside the hull.
During heating:
- Work along a short portion of the groove.
- Warm the filler and the hull surface together.
- Watch the surrounding hull for sagging or distortion.
- Stop immediately if plastic smokes, chars, or bubbles.
A propane torch carries a higher risk of scorching and uneven heating. Leave open-flame techniques to trained repairers following a hull-specific procedure.
Polyethylene must soften at the joint for a weld to form. Excessive heating weakens the surrounding area, so pause when heat spreads beyond the intended repair zone.
Weld Matching Plastic into the Gouge
A sound weld joins compatible filler to softened hull plastic along the groove’s base and sides. Small, controlled passes let you watch the joint form.
- Position the filler. Set the end of the matching HDPE welding rod at the start of the prepared gouge.
- Heat both surfaces. Bring the rod and the receiving surface to the working condition specified for your welding tool.
- Apply gentle pressure. Feed the softened rod into the groove while advancing slowly.
- Watch the edges. The filler should blend into the groove’s sides. A rounded bead sitting above a sharp boundary suggests poor fusion.
- Build depth gradually. Fill a deeper groove in passes as directed by the welding system.
- Shape lightly. Use a clean tool to settle the softened filler without pushing the hull out of shape.
Leave a small amount of excess for finishing. Heavy pressure squeezes material away from the joint and distorts softened plastic.
Plastic welding for cracks includes additional preparation and, in some procedures, reinforcement with mesh. Crack repairs are separate from this gouge-filling process because restoring a split hull requires a different assessment.
Let the Repair Cool and Smooth Only the Excess
Allow the weld to cool naturally before trimming or testing it. Keep the hull supported and undisturbed until the repair and nearby plastic have returned to room temperature.
Avoid water quenching or pressing on the repair while it is warm. The outer surface cools before the deeper material, so a firm-looking bead does not mean the whole joint has stabilized.
Begin finishing with a sharp scraper and remove only proud filler. Follow with light hand sanding if sharp edges remain, keeping the sanding block over the raised area.
Wet sanding is optional for minor surface refinement after the repair has cooled. Use wet-rated sandpaper, keep electrical tools away from the water, and collect the plastic residue for disposal. Stop when the patch feels smooth enough to avoid catching on obstacles.
A slight color or texture difference is acceptable. Heavy sanding to chase a factory finish removes useful material from the repair and surrounding hull.
Inspect the Bond and Check for Leaks Before Paddling
A finished repair needs a bond inspection and a controlled water check before normal use. Examine the weld under bright light after it has cooled fully.
Look for gaps, pinholes, and edges lifting away from the original plastic. Apply light hand pressure nearby and watch for separation. Aggressive bending or prying can damage the repair and gives little useful information.
If the hull maker permits an interior water test, support the kayak properly and use only enough water to cover the repaired area. Watch the dry exterior for seepage, then drain the boat promptly.
Avoid filling the entire hull, which adds substantial weight, and never pressurize it with compressed air. Include the patch in your kayak equipment inspection, along with drain plugs and hatch seals.
Start the return to use in calm, shallow water close to shore while wearing a PFD. A dry leak check establishes watertightness under those test conditions, but structural concerns still require professional assessment before whitewater or remote trips.
When Do Cracks, Holes, or Failed Repairs Need Professional Help?
We recommend professional assessment whenever damage involves a crack, a hole, or uncertain structural strength. The same applies when a repair lifts, leaks again, or leaves the surrounding hull soft or distorted.
Contact the manufacturer or a qualified repair shop if you find:
- Damage around scuppers, seat mounts, or other loaded areas.
- A split extending beyond the visible gouge.
- Extensive thinning or missing hull material.
- Brittle plastic or several nearby cracks.
- Heat damage from an earlier attempt.
- A repair area that you cannot access properly.
A plastic kayak hull hole repair needs a plan for bridging missing material and restoring the local structure. Covering the opening with a surface bead leaves important questions about support.
A fiberglass patch also needs a compatible adhesive system and specific preparation. Polyethylene has low surface energy that makes epoxy bonding difficult. Use manufacturer-approved procedures for adhesive repairs.
When surrounding plastic has deteriorated, discuss retirement or replacement with the repairer. Hull condition should guide how you choose a replacement kayak for your intended water and loads.
Prevent Repeat Gouges During Launching, Transport, and Storage
Carrying the kayak across rough ground is our first recommendation for preventing repeat gouges. A suitable cart also reduces scraping, provided its supports match the hull and the manufacturer’s requirements.
At launch sites, inspect the route before moving the boat. Float the hull clear of sharp rocks before loading it, and step out before pulling it onto a rough landing.
During kayak transport, clean grit from the rack pads and support the boat at approved points. Secure straps without crushing the hull, and check them after the load settles.
For garage or shed storage, use broad supports and keep sharp hardware away from the hull. Rotomolded polyethylene deforms under sustained pressure, especially when warm.
If you store a kayak outside in winter, arrange the cover so rain and snow drain away. Keep the boat off abrasive ground and protect it from falling branches. Check the repaired area after impacts and during seasonal cleaning.
Prioritize a Sound Hull over a Flawless Finish
Our priority is a well-bonded patch that preserves the hull’s shape and useful wall thickness. Confirm the material before heating, use compatible filler, and remove only the excess after it cools.
Before your next trip, inspect the weld edges and complete the appropriate leak check. If the bond lifts or the nearby plastic feels weak, keep the kayak ashore until someone has assessed the repair.
Frequently Asked Questions
We recommend resolving material and repair-scope questions before buying supplies. These answers address common uncertainties about polyethylene hull repairs.
Will regular epoxy stick to a polyethylene kayak?
Regular epoxy is unreliable on untreated polyethylene because the surface resists bonding. Use only a compatible adhesive system with the preparation required by its manufacturer and approval for your hull.
Can a fiberglass patch repair a plastic kayak?
A fiberglass patch works only if its resin or adhesive system bonds properly to the specific hull material. Use a manufacturer-approved patch procedure, particularly for polyethylene or damage in a high-load area.
Does an HDPE welding rod work on every plastic kayak?
An HDPE welding rod is suitable only for a compatible, weldable hull resin. Confirm the material first because cross-linked polyethylene and thermoformed constructions require different repair decisions.
How long should a plastic weld cool before sanding?
A plastic weld should reach room temperature throughout before sanding or testing. Follow the welding-system instructions and allow extra cooling time when the repair contains a thick buildup of filler.
Should every scratch be repaired before the next trip?
Shallow cosmetic scratches need inspection but do not require filling. Assess marks that include missing material, unusual flex, or a visible crack before returning the kayak to use.